Ontario Traffic Signs Practice Guide
Most learners miss sign questions for the same reason: they memorized what signs look like but never practiced reading them the way the test asks.
This guide flips that around. Instead of another list of signs, you get worked practice questions — each one solved step by step. Work through each set in order and try each question before reading its walkthrough.
How This Guide Works
Every question below is an original practice item written for this guide. They are not real G1 test questions, and no practice site can hand you those. What they can do — and what this guide does — is train the exact thinking the test rewards.
Each walkthrough follows the same pattern:
- The question, with four options, presented the way the test presents them
- A step-by-step solve showing what to look at first and what to ignore
- The answer, with the reason it beats the other three options
- A one-line pattern you can reuse on similar questions
Reading the solutions passively is not enough. Try each question before you read its walkthrough — the struggle is where the learning happens.
If you want the sign families themselves first, start with our complete guide to Ontario road signs, then come back here to practice.
Before You Start: The Four-Step Method
Every sign question on the G1 test can be attacked the same way. Memorize these four steps before you touch the practice sets:
- Read the shape and colour first. They name the sign family instantly: yellow diamond means warning, orange diamond means construction, red circle or white rectangle means regulation, green or blue means information.
- Name the family. Ask yourself: is this sign warning me, commanding me, informing me, or describing a work zone?
- Read the question scenario, not just the sign. Many questions describe a driving situation and ask what you should do — the sign is only half the puzzle.
- Eliminate two options. Wrong answers usually describe a different sign family or the opposite action. Cross out the two weakest, then choose between the survivors.
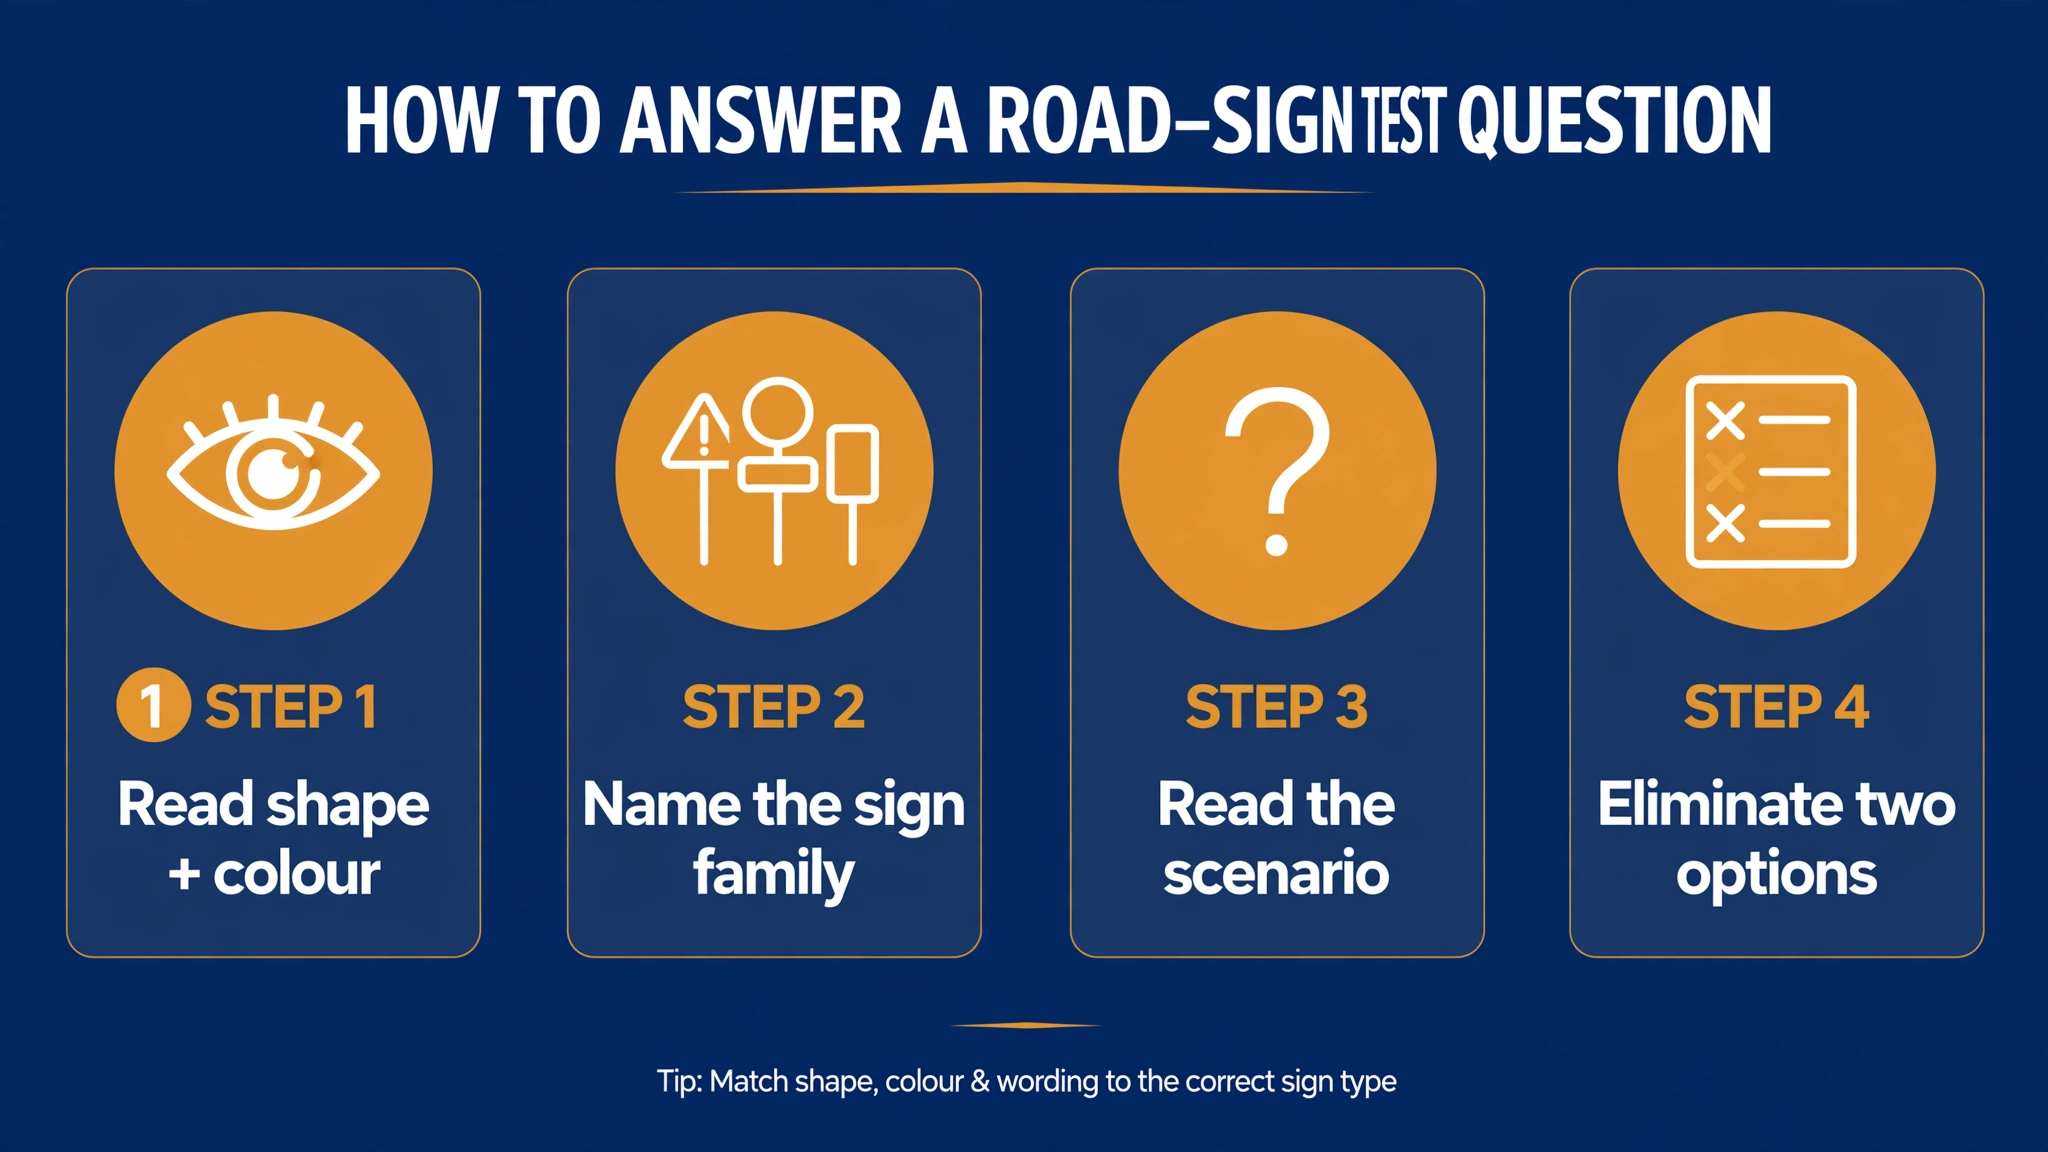
Run the steps in order on every question below. The walkthroughs will show you exactly where test-takers usually skip a step and lose the mark.
Practice Set One: Regulatory Signs
Regulatory signs tell you what you must do. The G1 test leans on this family because it is where real tickets come from — and mistakes here follow you onto the road.
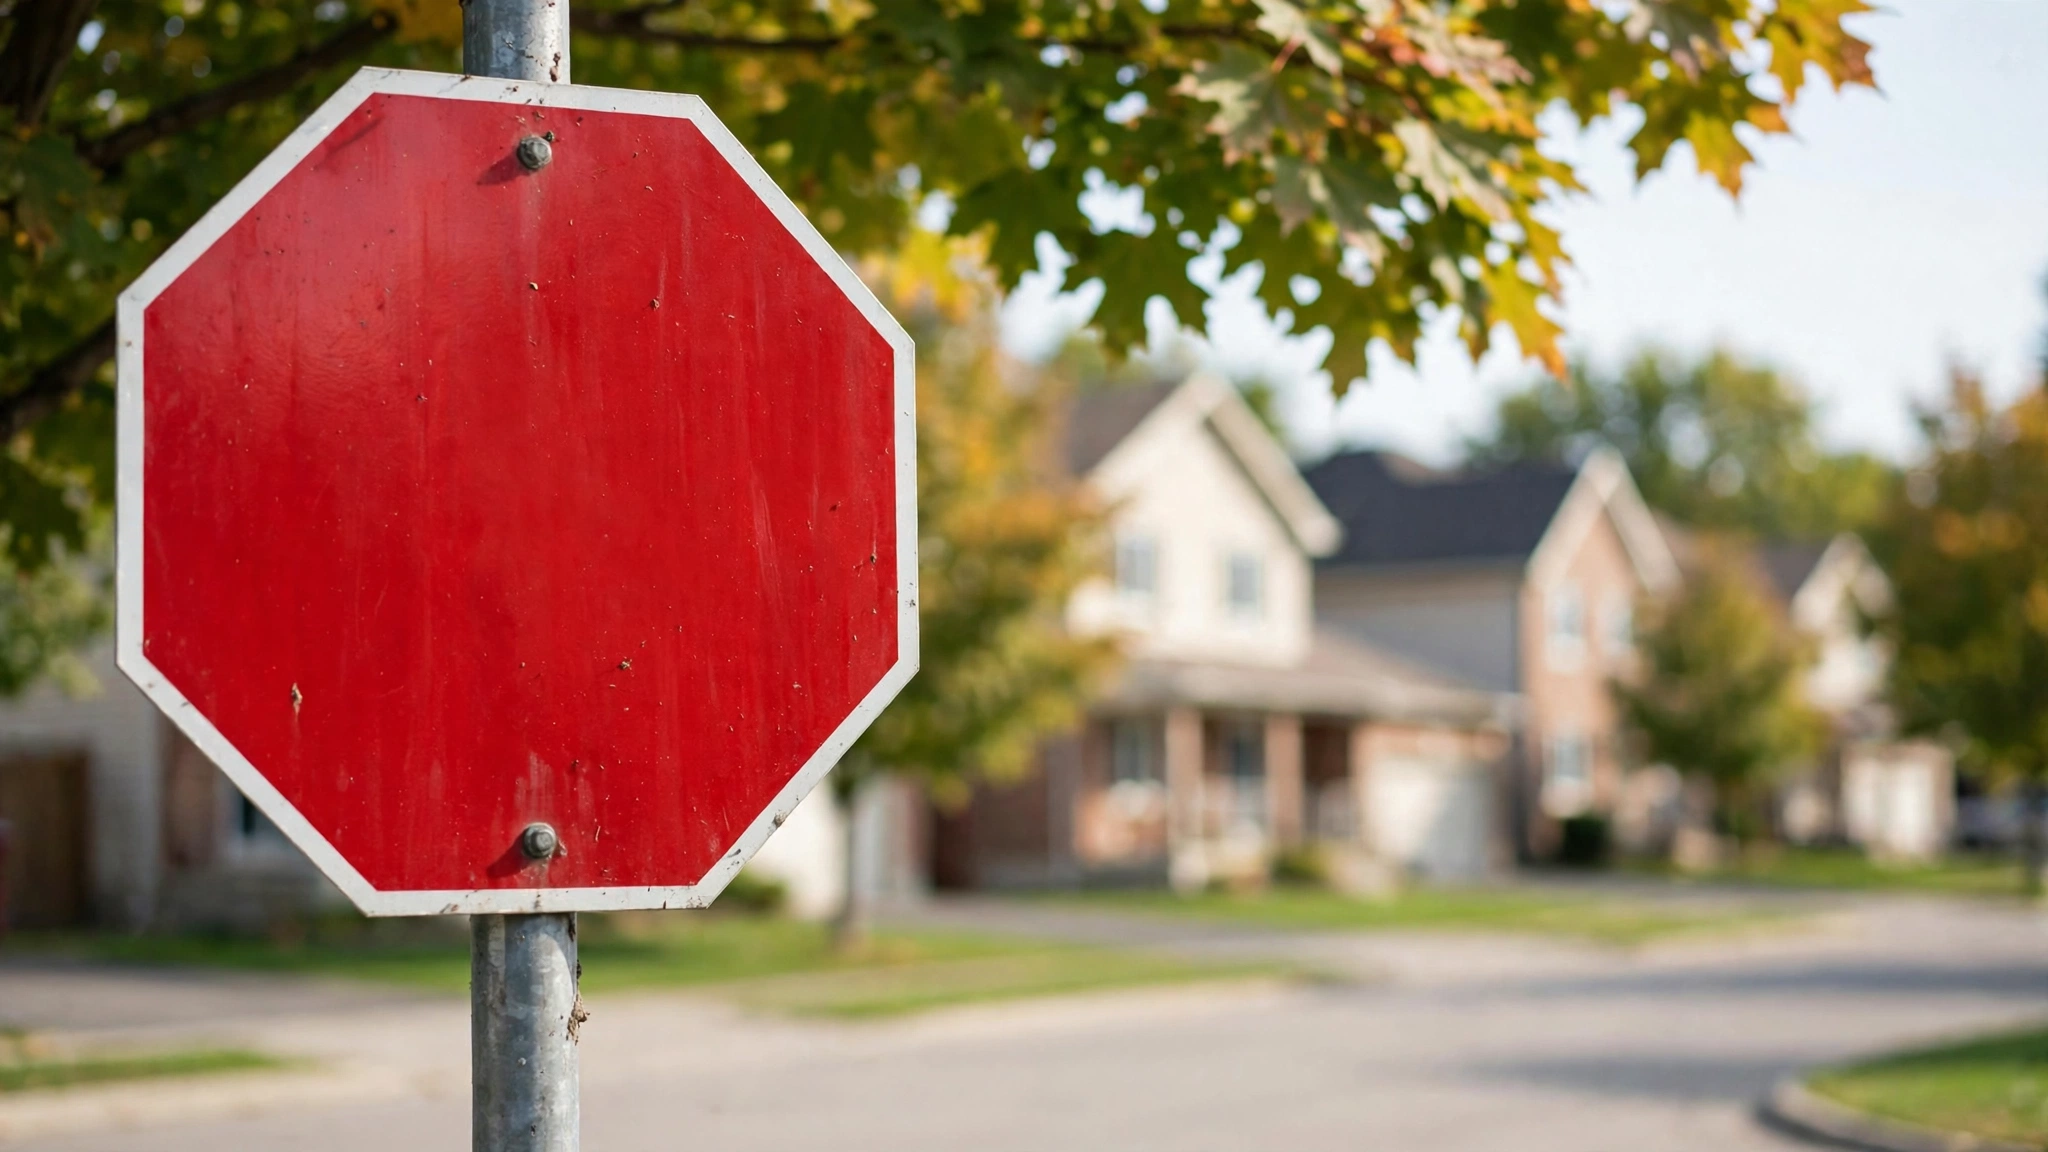
Question 1 — You approach an intersection with a red octagonal sign. A car is already waiting at the cross street. What must you do?
- A. Slow down and proceed if the way is clear
- B. Come to a complete stop behind the stop line, then go when it is your turn
- C. Stop only if other vehicles are coming
- D. Yield to traffic on your left only
Solve it: Step 1 — shape and colour. A red octagon is always a stop sign; nothing else uses that shape. Step 2 — the family: regulation, not advice. Step 3 — the scenario: another car is waiting, but that changes nothing because the sign’s command is unconditional.
Step 4 — eliminate: A and C describe a yield, not a stop. D invents a left-only rule that does not exist.
Answer: B. A stop sign means a full stop every time — not a slow roll, not “only if someone is coming.” The vehicle that arrived first goes first; you go when it is your turn.
Pattern: red octagon means complete stop, no exceptions.
Question 2 — A sign shows a red circle with a red slash over the letter P. What does it mean?
- A. You may not park here, but you may stop briefly to drop off a passenger
- B. You may not stop here for any reason
- C. You may park here for up to five minutes
- D. Parking is allowed here only at night
Solve it: Step 1 — red circle with a slash is a prohibition sign. Step 2 — the symbol crossed out is P, for parking. So parking is prohibited, but stopping is not.
Step 4 — eliminate: B describes a no-stopping sign, the stricter cousin. C and D invent time rules the sign does not state.
Answer: A. “No parking” bans parking while still allowing a brief stop to load or unload passengers. “No stopping” would ban even that.
Pattern: a slash over P bans parking, not stopping. No stopping is the stricter sign.
Question 3 — A white rectangular sign reads “MAXIMUM 100.” You are on a clear, dry highway. What speed may you legally drive?
- A. 100 km/h or less, as conditions allow
- B. Exactly 100 km/h — no slower
- C. 110 km/h, matching the flow of traffic
- D. 100 km/h only in the left lane
Solve it: Step 1 — white rectangle means regulation. Step 2 — MAXIMUM states a legal ceiling, not a target. Step 3 — the scenario is clear and dry, so the full limit is usable.
Step 4 — eliminate: B confuses a maximum with a minimum. C lets traffic override a posted limit — it cannot. D invents a lane restriction.
Answer: A. A maximum is a ceiling you drive at or below. In rain, fog, or heavy traffic you should be well under it.
Pattern: MAXIMUM is a ceiling, never a target you must hit.
Practice Set Two: Warning Signs
Warning signs advise rather than command — yellow diamonds flagging what lies ahead. This is the largest family on the test, so time here pays off twice.
These questions also teach you to anticipate hazards, which is half of safe driving. Our warning-signs guide covers the full family in detail.
Question 4 — A yellow diamond shows the silhouette of children crossing. The road ahead passes a school. What should you do?
- A. Maintain your speed — the sign is only informational
- B. Slow down and watch for children, especially near crossing times
- C. Stop until a crossing guard appears
- D. Sound your horn to warn the children
Solve it: Step 1 — yellow diamond means warning. Step 2 — the children symbol flags a school area ahead. This is advice to get ready, not a stop command.
Step 4 — eliminate: A treats a warning as decoration. C invents a stop requirement the sign does not carry. D is dangerous — startling children near a road helps no one.
Answer: B. Slow early, scan the sidewalks and crossings, and expect the unexpected near schools.
Pattern: warning signs tell you what to get ready for, not what to do on the spot.
Question 5 — A yellow diamond shows an X with the letter R on each side. What lies ahead?
- A. A hospital zone
- B. A railway crossing
- C. A roundabout
- D. A rest area
Solve it: Step 1 — yellow diamond, so warning. Step 2 — the X shape echoes the crossbuck at rail crossings, and R stands for railway.
Step 4 — eliminate: a hospital is marked with a blue H sign, not a yellow X. A roundabout uses circular arrows. A rest area is a blue information sign.
Answer: B. Railway crossings deserve extra respect: never stop your vehicle on the tracks — not in traffic, not at a light, not for any reason.
Pattern: X plus R always means railway. Slow down and look both ways before crossing.
Question 6 — A yellow diamond shows two arrows merging into a single lane. A car is entering from the right. What should you expect?
- A. The right lane is ending and merging traffic will need space
- B. A passing lane is beginning
- C. You must change lanes immediately
- D. The road ahead is closed
Solve it: Step 1 — yellow diamond, a warning. Step 2 — merging arrows mean a lane reduction ahead. Step 3 — the scenario adds a car entering from the right, confirming the merge is active.
Step 4 — eliminate: B is the opposite of the picture. C overreacts — a warning never demands a sudden move. D belongs to a road-closed sign, not a merge sign.
Answer: A. Adjust your speed early and leave room for merging vehicles. Smooth beats sudden every time.
Pattern: on merge questions, the safe answer is “adjust and give space,” never a sudden manoeuvre.
Practice Set Three: Temporary and Construction Signs
Construction signs borrow the warning diamond’s shape but wear bright orange. Orange always means temporary: work zones, detours, and reduced limits that exist only while work is active. These are some of the easiest marks on the test — do not leave them on the table.
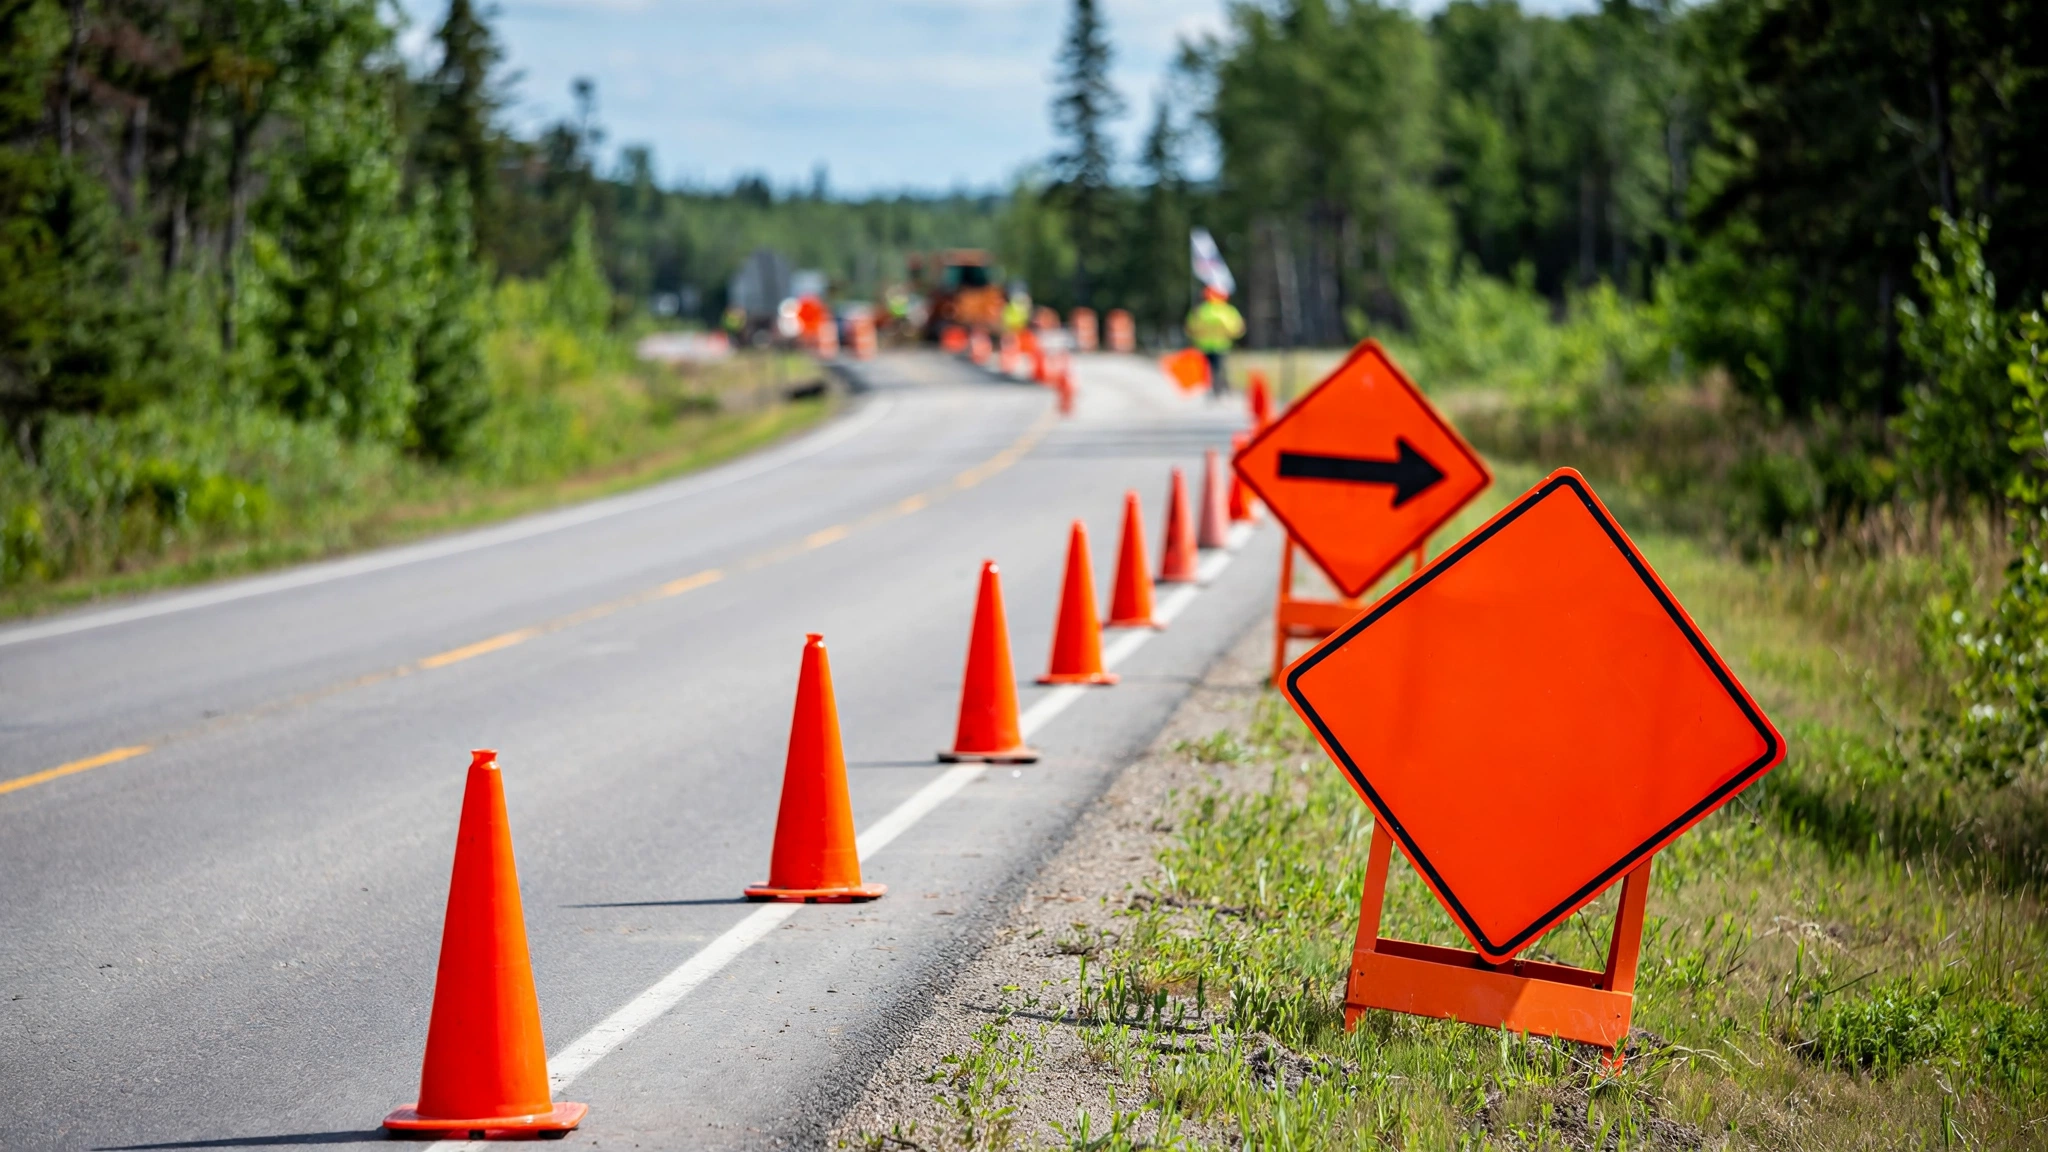
Question 7 — You meet an orange diamond with a black arrow curving right. What does it mean?
- A. A permanent right turn is required ahead
- B. A temporary detour directs you right around a work zone
- C. The road curves right permanently
- D. Parking is permitted on the right
Solve it: Step 1 — orange diamond. That single fact decides the question: this is a construction sign, so it is temporary. Step 2 — the arrow gives direction around the work area.
Step 4 — eliminate: A and C describe permanent situations, which orange never is. D is unrelated to the symbol.
Answer: B. Follow the detour, stay alert for workers and equipment, and expect the unexpected.
Pattern: orange diamond means “the construction version.” Read it like a warning, but remember it is temporary.
Question 8 — An orange sign ahead shows a person holding a flag. What should you do?
- A. Speed up to clear the zone quickly
- B. Slow down and be ready to stop or follow the flag person’s directions
- C. Honk to let workers know you are coming
- D. Stop and wait for a green flag
Solve it: Step 1 — orange means a work zone. Step 2 — a flag person is human traffic control; their directions carry the same weight as a signal.
Step 4 — eliminate: A is dangerous and wrong. C controls nothing. D invents a signal that does not exist.
Answer: B. Slow down, watch the flag person — not just the sign — and be ready to stop.
Pattern: a flag person’s hand signals outrank everything else in the work zone.
Pattern: a flag person’s hand signals outrank everything else in the work zone. Remember the override rule too: when a construction sign and a permanent sign disagree, the orange one wins while work is active.
Question 9 — An orange sign reads “60 km/h” through a work zone where the usual limit is 80. Which is correct?
- A. The orange 60 km/h applies while you are in the work zone
- B. The usual 80 km/h still applies — orange signs are advisory
- C. You may choose either limit
- D. The limit applies only to trucks
Solve it: Step 1 — orange, so construction. Step 2 — this is an orange speed sign, which is a command for the work zone, not a suggestion.
Step 4 — eliminate: B mistakes orange for advisory. C is not how speed law works. D invents a vehicle restriction the sign does not show.
Answer: A. Work-zone speed limits protect the people working metres from your lane. Obey them exactly.
Pattern: orange speed signs in work zones are commands, not suggestions.
Practice Set Four: Information and Direction Signs
Green and blue signs inform — they never command and never warn. Questions on this family are easy marks if you remember one thing: the colour tells you the purpose. Green is for direction and distance; blue is for services.
Question 10 — A green sign lists “Toronto 45” with an arrow. What does 45 mean?
- A. The speed limit is 45 km/h
- B. Toronto is 45 kilometres away in the direction of the arrow
- C. Highway 45 leads to Toronto
- D. There are 45 exits before Toronto
Solve it: Step 1 — green means direction information. Step 2 — on direction signs, a number after a place name is a distance in kilometres.
Step 4 — eliminate: A confuses it with a white speed sign. C and D invent meanings the sign does not carry.
Answer: B. Green sign, place name, number, arrow — read it as “45 km that way.”
Pattern: on green signs, numbers are distances in kilometres.
Question 11 — A blue square shows a white “H.” What service is nearby?
- A. A hotel
- B. A hospital
- C. A highway entrance
- D. A heritage site
Solve it: Step 1 — blue square means motorist services. Step 2 — the white H is the standard hospital symbol.
Step 4 — eliminate: the other options are plausible English words starting with H, which is exactly why the test uses them as distractors.
Answer: B. Blue H means hospital. In an emergency, that blue sign is the one you want.
Pattern: blue squares list services for drivers — hospital, gas, food, lodging.
Six Trap Patterns Worth Knowing
The same traps appear again and again across sign questions. Learn them once and they stop costing you marks:
- Colour confusion: when the question describes the sign in words, trust the colour. “Yellow diamond” means warning even if the scenario sounds like a command.
- Advisory versus maximum: a yellow “40 km/h” under a curve sign suggests; a white “MAXIMUM 100” commands. The test loves swapping them.
- No parking versus no stopping: parking bans are the weaker rule; stopping bans are stricter. Match the answer to the exact verb.
- “What should you do?” versus “What does the sign mean?”: one asks for your action, the other for the definition. Read the last line of the question twice.
- Permanent versus temporary: orange overrides. When both a construction sign and a permanent sign appear, the orange answer wins.
- Absolute words: options containing “always” or “never” are usually wrong — with one famous exception. A stop sign really does mean always stop.
What Score You Need on the Signs Section
The G1 knowledge test has 40 questions split into two sections: 20 on road signs and 20 on rules of the road. You need at least 16 correct in each section to pass. A perfect rules score cannot rescue a weak signs score — each section stands on its own.
That is why walkthroughs like these matter more than raw memorization. Work out exactly how many sign questions you can afford to miss with our G1 score calculator, then drill until you are consistently above that line.
A Seven-Day Signs Practice Plan
If your test is a week away, this plan turns walkthroughs into exam readiness:
- Day 1: Work through Sets One and Two above with the answers covered. Write down which families you missed.
- Day 2: Study only the families you missed, using focused drills. Our memory techniques for road signs help the stubborn ones stick.
- Day 3: Work Sets Three and Four. Construction signs are the easiest marks on the test — lock them in.
- Day 4: Redo all eleven questions above from memory. Any walkthrough you cannot redo is not learned yet.
- Day 5: Take a full timed practice test on our free Ontario G1 practice test and review every sign question you missed.
- Day 6: Re-drill only your misses from Day 5, then take the same test again.
- Day 7: Light review only — the four-step method and the six trap patterns. No cramming; trust the work you did.
Frequently Asked Questions
Are These the Actual G1 Test Questions?
No. These are original practice questions written for this guide. The real G1 knowledge test draws its questions from the Official Driver’s Handbook, and no practice site has the actual test bank.
Practice questions train the thinking the test rewards — they are not a preview of it.
How Many Sign Questions Are on the G1 Test?
Twenty of the forty questions cover road signs, and you need at least 16 of those 20 correct. The other twenty cover rules of the road, with the same 16-of-20 bar.
Should I Study Signs or Rules First?
Signs first. Sign questions are more predictable — shape, colour, and symbol repeat across questions — so they are the fastest marks to lock in. Then move to rules of the road while the signs stay fresh with light review.
What If I Keep Mixing Up Two Similar Signs?
Study them as a pair, never separately. Put the two signs side by side and name the single difference out loud — the colour, the shape, one word, one symbol. Test yourself on that difference until it is automatic, then fold them back into mixed practice.
This guide is unofficial study material for the Ontario G1 knowledge test. It is not affiliated with DriveTest, the Ministry of Transportation, or the Government of Ontario.
Road rules change over time, so always confirm current requirements with official sources before your test.
Want 300 More Practice Questions?
The Premium Question Bank gives you 6 full mock exams with a plain-language explanation for every answer. Instant PDF download, yours to keep.
Original handbook-mapped questions. Not real DriveTest questions. No pass promises – just serious practice.