

Ontario Warning Signs: What Do They Mean?
Yellow diamond. Black symbol. A hazard somewhere ahead of you. Ontario warning signs are the road’s way of tapping your shoulder before something demanding shows up — a sharp curve, a railway crossing, a school zone full of children.
They matter on the G1 test because they are easy to mix up. Many warning signs look alike, and test writers know it. This visual guide walks you through the whole family, sign by sign, so you can name each one, know what to do when you see it, and spot the look-alike traps.
How to Read a Warning Sign at a Glance
Every warning sign in Ontario follows the same visual grammar. Learn the grammar once, and even a sign you have never seen becomes answerable.
- Yellow diamond: a permanent warning. Some kind of hazard lies ahead of you on the road.
- Orange diamond: a temporary warning. Construction, maintenance, and detour zones use orange versions of the same symbols.
- Yellow circle with a black X: the one exception. This is the advance warning for a railway crossing.
- Fluorescent yellow-green: school zones, school crossings, and pedestrian crossings. They are the brightest signs on the road on purpose.
- A small rectangular plate under the sign: usually an advisory speed. It suggests a safe speed for the hazard ahead.
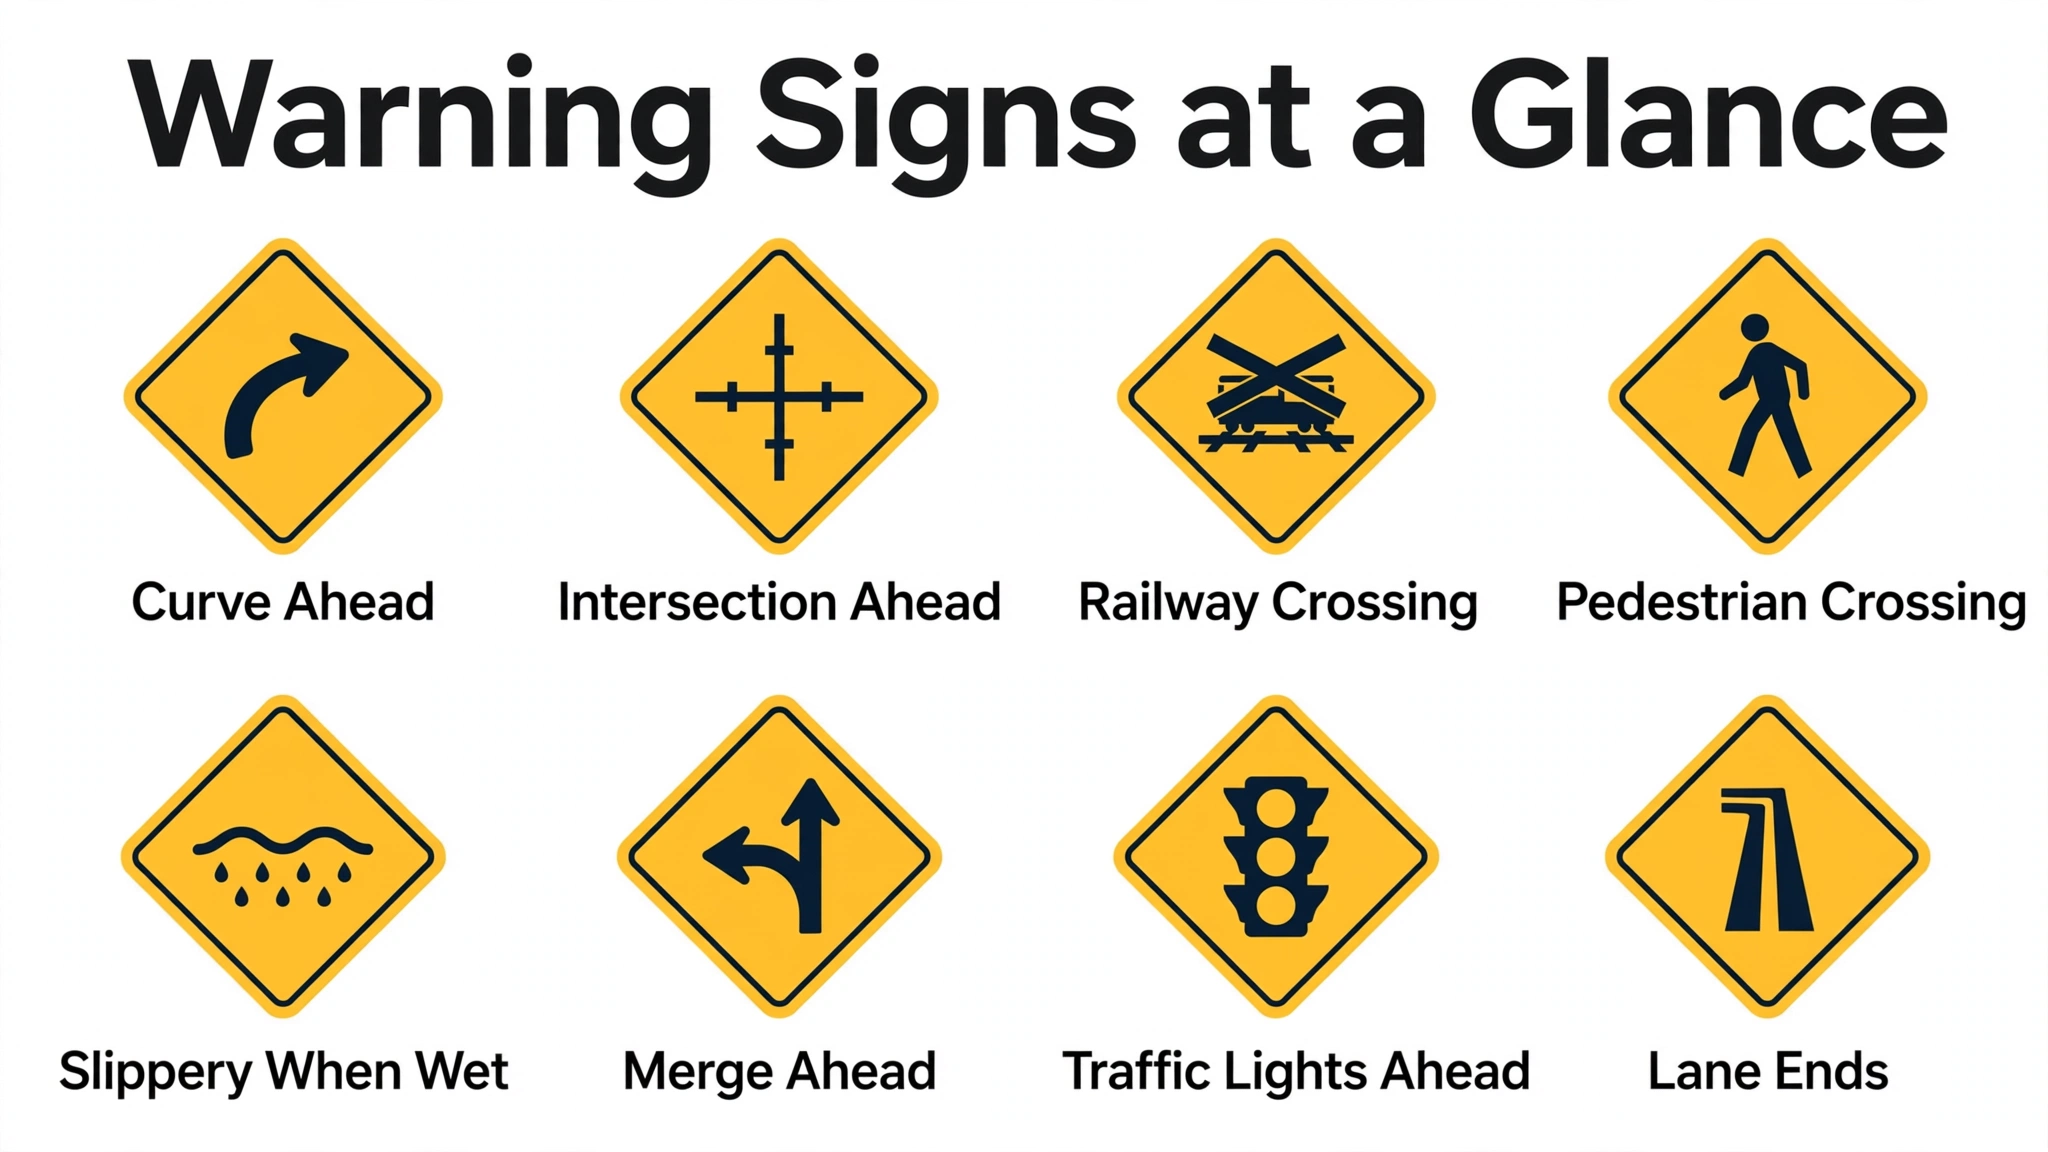
Notice the pattern underneath all of these: warning signs never give orders. They describe something ahead and ask you to prepare.
If a question shows a yellow diamond and asks what the driver must do, the answer is almost never an absolute rule. It is a preparation action — slowing down, covering the brake, or scanning the road ahead.
Curves and Alignment: Warnings About the Road Itself
The road bends, dips, and narrows. These signs describe the geometry of what is coming so you can adjust before you arrive.
- Curve ahead: the road bends to the left or right. Slow down and stay in your lane through the bend.
- Sharp curve ahead: the arrow shows a tighter bend. Reduce speed more decisively than for a gentle curve.
- Winding road ahead: a series of curves is coming, not just one. Keep your speed down until the road straightens.
- Bump or hump ahead: the road surface rises. Slow down so you do not lose steering control on the bump.
- Steep hill ahead: the grade changes sharply. Be ready to manage your speed going down and your gear going up.
- Chevron signs (black arrows on a yellow panel): posted right at a sharp curve, pointing in the direction the road turns. Follow the arrows.
- Advisory speed plate (a small number under the sign): a suggested safe speed for the curve. Match it or go slower.
What the test asks here is almost always about action. “You see a sharp curve sign. What should you do?” The answer is to slow down before entering the curve, not during it.
Intersections and Traffic Control Ahead
Sometimes the hazard is not the road shape — it is what crosses the road. These signs give you notice of an intersection or a control you cannot see yet.
- Crossroad ahead: a four-way intersection is coming. Cover the brake and scan the cross traffic.
- Side road ahead: a road joins from one side. Watch for vehicles entering from that side.
- T-intersection ahead: your road ends at another road. You will have to stop or turn.
- Stop sign ahead: a stop sign waits around the bend or over the hill. Start slowing early so you can make a full stop.
- Yield sign ahead: a yield sign is coming. Be ready to give way to traffic and pedestrians.
- Traffic signals ahead: lights you cannot see yet. Ease off and be ready for a red.
- Roundabout ahead: traffic ahead flows around a central island. Slow down and prepare to yield on entry.
The “stop ahead” and “yield ahead” signs are classic test material. They are warnings, not the stop or yield sign themselves.
A question might show the stop-ahead warning and ask what it means. The correct reading is “a stop sign is coming up” — and the correct action is to prepare to stop.
Railway Crossings: The Most Serious Warnings
Trains cannot swerve and cannot stop quickly. That is why railway warnings are some of the most heavily tested signs on the G1 exam.
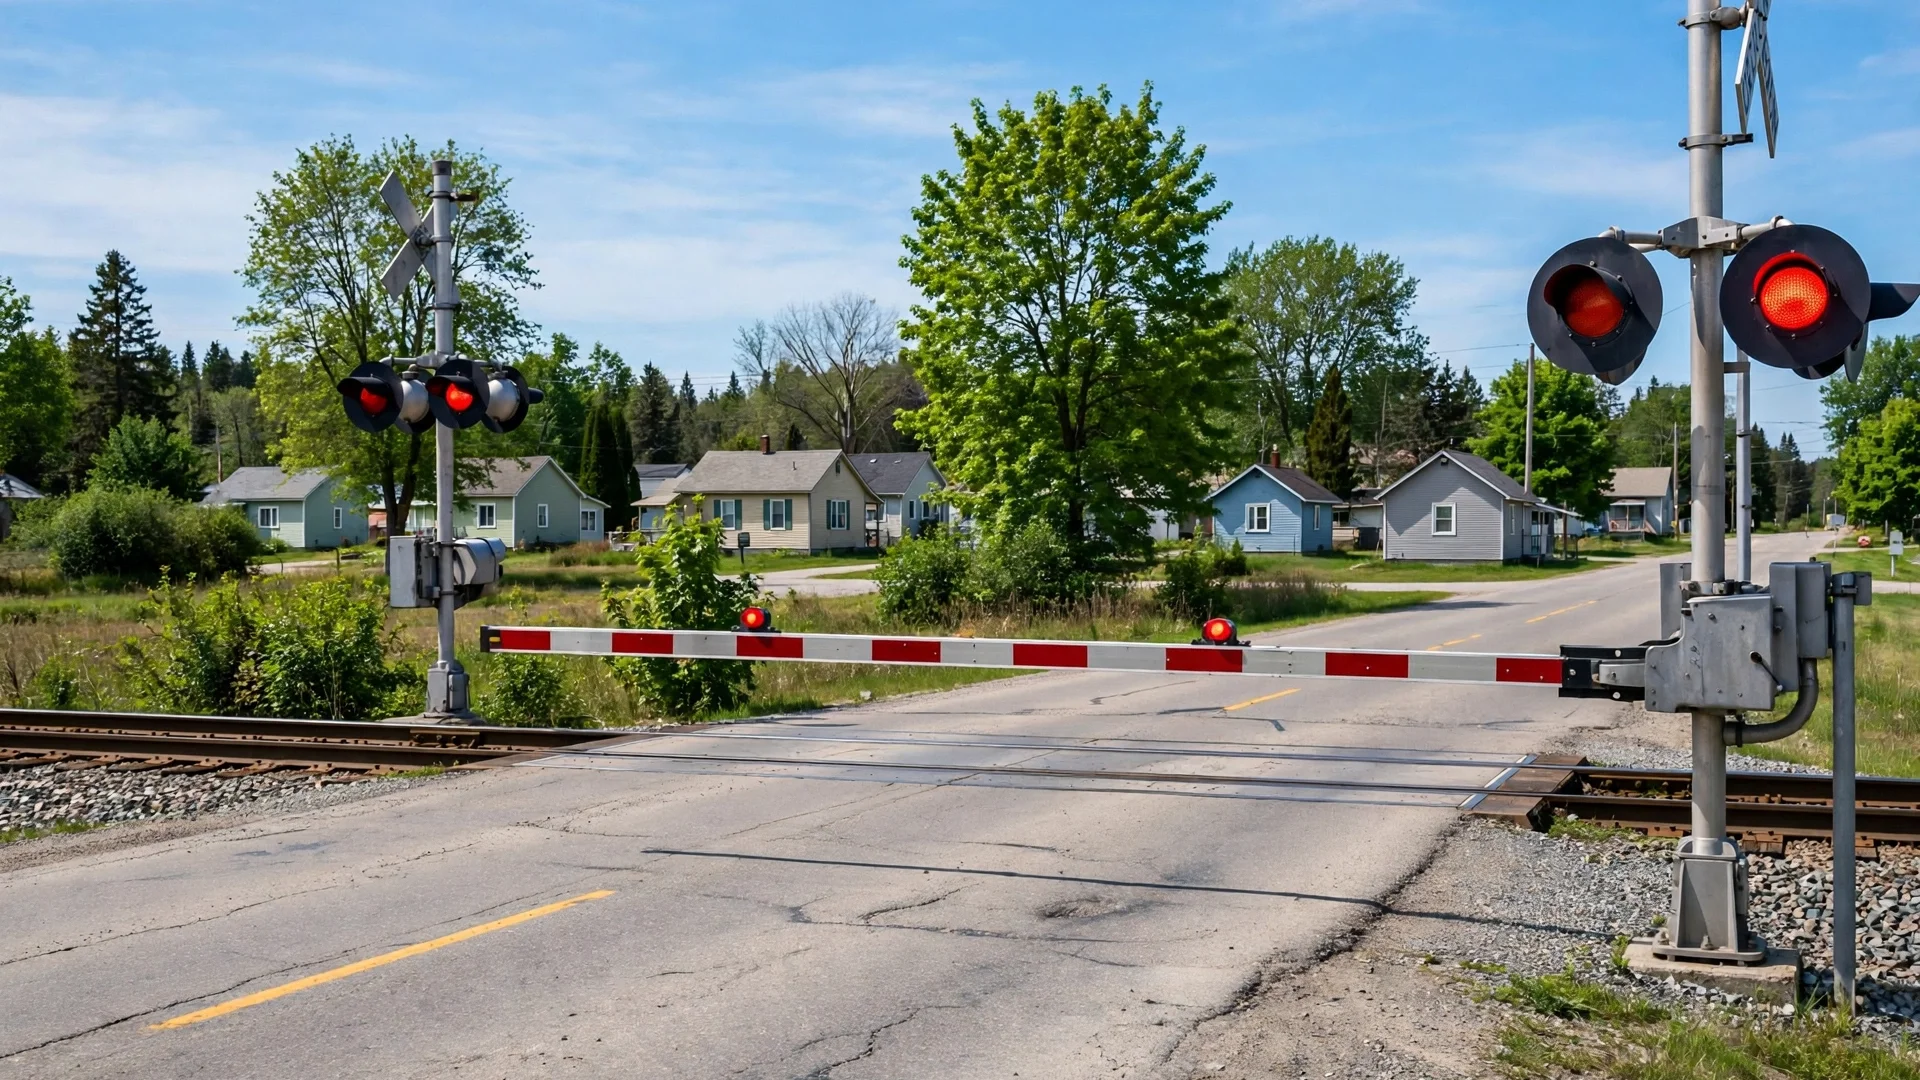
- Railway crossing ahead (yellow circle, black X): the advance warning, posted well before the tracks. Slow down, look both ways, and be ready to stop.
- Crossbuck (white X on a post at the crossing): marks the tracks themselves. It means “yield to trains” — you must stop if a train is coming.
- Crossing signals with flashing red lights: a train is approaching. Stop before the signals and wait.
- Barrier arm (gate): the crossing is closed. Never drive around a lowered gate, even if you cannot see the train yet.
The test loves the distinction between the advance warning and the crossbuck. The yellow circle warns from a distance. The white X marks the crossing itself.
Mix those two up and you will miss one of the most common railway questions on the exam.
People on the Road: Pedestrians, Cyclists, and School Zones
These warnings protect the most vulnerable people on the road. They cluster around schools, crossings, and shared streets.
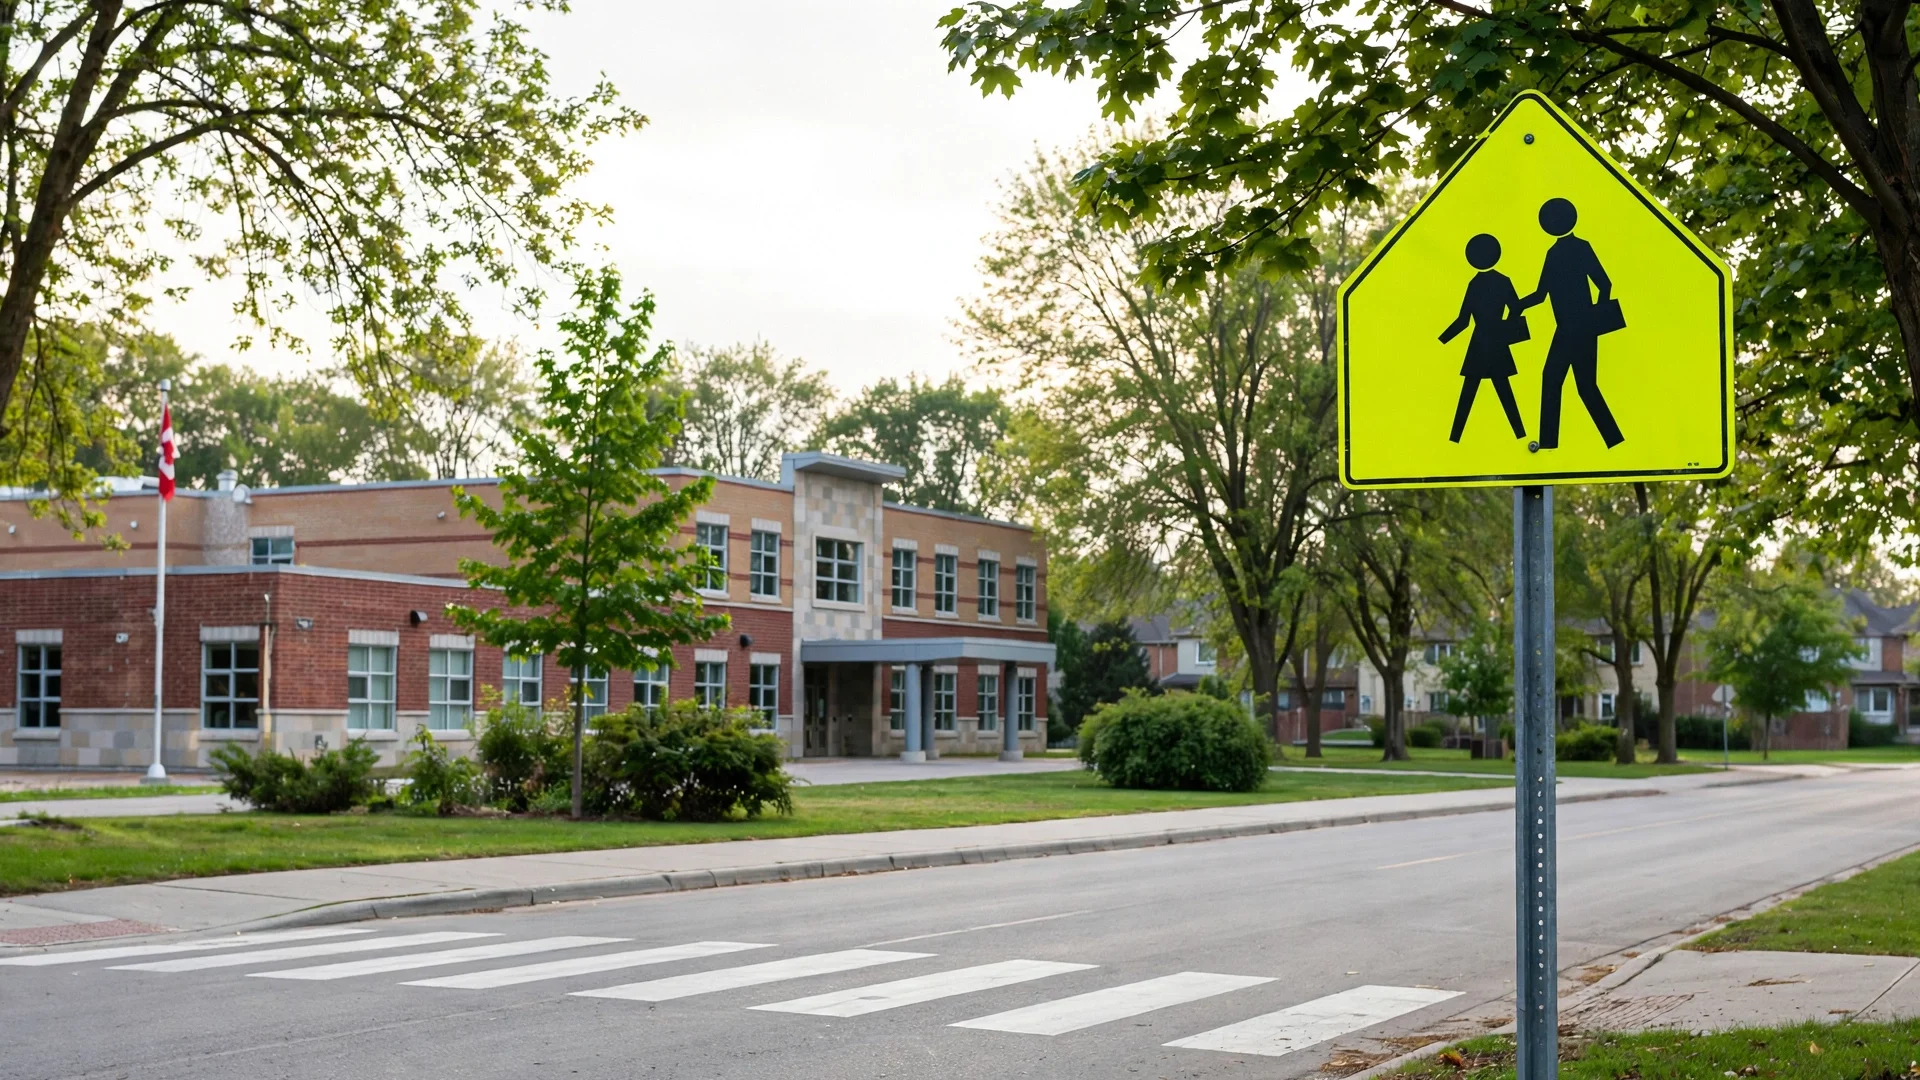
- Pedestrian crossing ahead: a marked crossing is coming up. Slow down and be ready to stop for people on foot.
- School zone / school crossing (fluorescent yellow-green): children are nearby. Slow down and stay alert — children are unpredictable.
- Pedestrian crossover with flashing amber beacons: push-button beacons warn drivers. You must stop and wait until pedestrians have fully cleared the road.
- Bicycle crossing warning: cyclists may be crossing the road ahead. Give them space and watch both sides.
- Playground ahead: children may run into the street. Slow down well before the area.
Remember the colour trick: fluorescent yellow-green always means people. If a test question shows that colour, the answer involves pedestrians or school zones.
For more ways to lock signs like these into memory, see our methods for memorizing road signs.
Surface, Weather, and Animal Hazards
The road itself can be the hazard. These signs warn about surfaces and conditions that change how your tires grip.
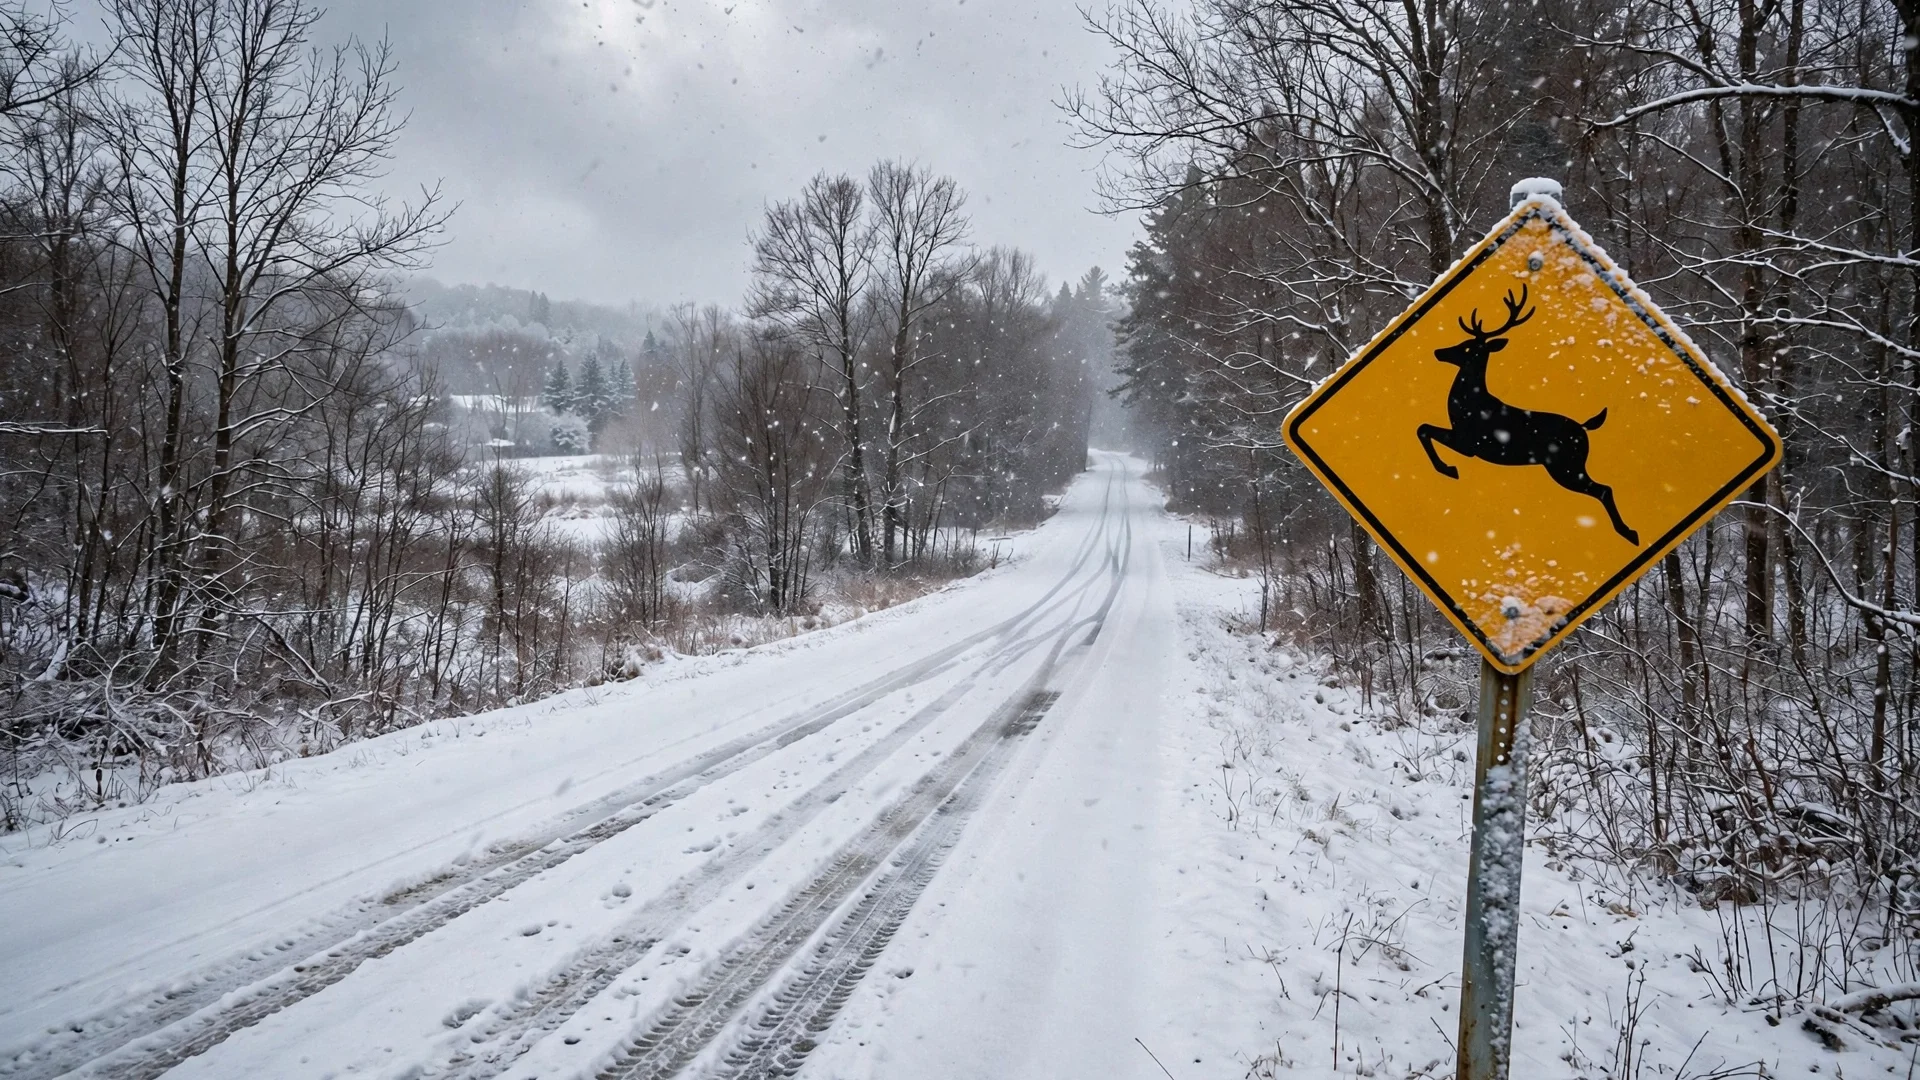
- Slippery when wet: the surface loses grip in rain. Ease off the accelerator before the wet section, not on it.
- Loose gravel: the surface is unpaved or rough. Slow down and keep a firm, steady line.
- Falling rocks: rocks may land on the road, usually near cliffs or cuts. Do not stop under the sign — keep moving at a safe speed.
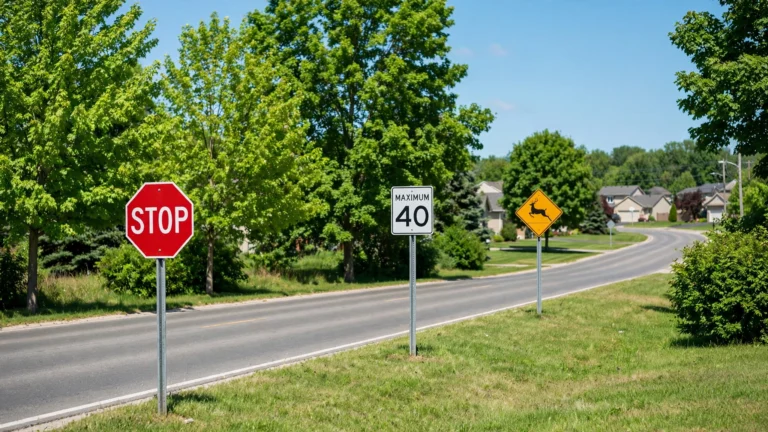
- Animal crossing (deer is the common one in Ontario): wildlife crosses here regularly. Scan the shoulders, especially at dawn and dusk.
- Pavement ends: the surface changes under your tires. Reduce speed before the transition.
- Narrow bridge ahead: the roadway squeezes down. Slow down and be ready to yield to oncoming traffic.
That timing detail is exactly what test writers probe. They want to know you adjust before the slippery section, before the gravel, before the narrow bridge.
Merges, Lane Drops, and Roadway Changes
These signs warn that the road ahead is laid out differently than the road you are on. Your lane position may need to change.
- Merge ahead: two streams of traffic join into one. Adjust your speed and find a gap early.
- Lane ends: your lane is disappearing. Merge into the continuing lane before it ends.
- Road narrows: the whole roadway gets narrower. Slow down and be careful passing oncoming traffic.
- Two-way traffic ahead: the divided road is ending. Traffic will be coming toward you in the opposite lane.
- Divided highway begins / divided highway ends: the arrows show whether lanes are splitting apart or coming together. Read the direction of the arrows.
- Added lane: a new lane is joining from the right. Traffic may enter beside you — check your blind spot.
Lane ends and road narrows are a classic pair the test separates on purpose. In a lane ends situation, one lane disappears and you must merge. In a road narrows situation, the whole road squeezes and you simply need more care.
The Look-Alike Warning Signs That Fool Test-Takers
Most missed sign questions are not about obscure signs. They are about pairs that look alike. Drill these side by side until each difference is automatic.
- Yellow diamond vs orange diamond: same symbol, different timing. Yellow is permanent; orange means a temporary construction or maintenance zone.
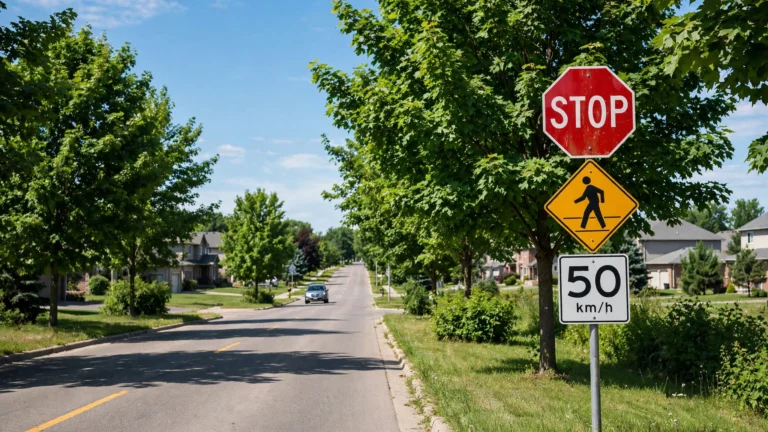
- Advisory speed plate vs maximum speed sign: a small number under a warning sign suggests a speed; a black number on a white rectangle is the legal limit.
- Railway advance warning (yellow circle, X) vs crossbuck (white X at the tracks): one warns from a distance, the other marks the crossing itself.
- Lane ends vs road narrows: one lane disappears versus the whole road squeezing down.
- Merge ahead vs yield sign: the merge sign is a yellow diamond warning about joining traffic; the yield sign is an inverted triangle that gives an order.
- Pedestrian crossing vs school crossing: yellow diamond versus fluorescent yellow-green. The colour tells you children are involved.
- Curve vs turn: a turn sign shows a much sharper direction change than a curve sign. The symbol’s angle matches the road’s angle.
- Stop ahead vs stop sign: the warning (yellow diamond with a stop symbol) announces a stop sign you cannot see yet; the red octagon is the stop itself.
If you can explain the difference in each pair out loud, in your own words, you are ready for whatever the test shows you.
How the G1 Test Actually Questions Warning Signs
Warning signs show up in three question patterns. Knowing the pattern lets you read each question faster and with more confidence.
Pattern 1: “What does this sign mean?” The question shows a sign image and asks for its meaning. Read shape and colour first, then the symbol. The family alone often eliminates two wrong answers.
Pattern 2: “What should you do?” The sign is the setup; the question asks for the action. For warning signs, the answer is almost always a preparation action — slow down, be ready to stop, scan, cover the brake.
Pattern 3: “Which sign is this?” The question describes a situation and asks which sign warns about it. Work backwards from the hazard to the symbol.
Warning signs live inside the sign half of the exam — twenty of the forty questions are sign questions, and you need at least sixteen correct in each section. If you are unsure where you stand, our G1 score calculator shows exactly how many you can miss per section and still pass.
Then test yourself the way the test tests you: take free G1 practice tests and review every sign question you miss. Your miss list is your real study list.
A Drill Method That Makes Warning Signs Stick
Do not try to memorize every warning sign one by one. Recognition — not recall — is what the test rewards, and recognition comes from reps.
- Learn the visual grammar first. Yellow diamond, orange diamond, yellow circle, fluorescent yellow-green, advisory plates. Ten minutes on the families beats an hour staring at random signs.
- Drill by hazard group. All the curve signs, then all the railway signs, then the people signs. Each group in this guide is one drill session.
- Rep the look-alike pairs. Cover one sign of each pair and name the difference without peeking.
- Finish with full practice tests. Take timed sets, review every miss, and re-drill the groups where your misses cluster.
For the bigger picture of how signs fit into the whole exam, see our Ontario road signs guide — and for what the rest of the test covers, read how many questions are on the G1 test.
Frequently Asked Questions
What Does a Yellow Diamond Sign Mean in Ontario?
It is a warning sign. Some hazard — a curve, an intersection, a railway crossing, a slippery surface — lies ahead of you on the road. The correct response is to slow down and prepare for the hazard before you reach it.
Are Warning Signs Legally Enforceable?
Warning signs advise rather than command. Ignoring one is not itself a ticket in the way ignoring a stop sign is, but the hazard they describe is real — and driving too fast for conditions can still get you in trouble if something goes wrong.
What Is an Advisory Speed Plate?
A small rectangular sign, usually posted under a warning sign, showing a suggested safe speed for the hazard ahead. It is a recommendation, not a legal speed limit. Exceeding it is not automatically an offence, but it is posted for a reason.
How Can I Tell a Warning Sign From a Regulatory Sign?
Look at shape and colour. Warning signs are mostly yellow diamonds (with a few exceptions like the yellow circle for railways and fluorescent yellow-green for schools). Regulatory signs are white rectangles or red circles with slashes — they give orders you must obey.
Do Warning Signs Appear on the G1 Test a Lot?
Yes. Half the exam is road signs, and warning signs are one of the largest sign families. Curve, railway, school zone, and merge signs are among the most commonly tested. Twenty sign questions, sixteen needed to pass — every one of these signs is worth points.
Disclaimer: This guide is unofficial practice material for the Ontario G1 knowledge test. It is not affiliated with DriveTest, the Ontario Ministry of Transportation, or the Government of Ontario. All practice questions and explanations on this site are original study aids — not real, official, or leaked test questions.


2 Comments