
What Should You Study for the Ontario G1 Test?
The Official Driver’s Handbook is thick, and the G1 test can pull from all of it. Staring at a hundred-plus pages with no plan is how most people waste their first week of studying.
The fix is simple: study in priority order. This guide ranks every topic by how much it matters on test day, so your hours land where the points are.
Why the Test’s Structure Decides Your Study Plan
The G1 knowledge test has 40 multiple-choice questions, split into two equal sections. Twenty questions cover road signs, and twenty cover rules of the road.
You must answer at least 16 correctly in each section to pass. A perfect score on signs means nothing if you fail the rules section — the sections are graded separately.
That split is your study map. Roughly half your effort goes to signs, and half goes to rules. Anyone who spends a month on signs and a single night on rules has built their plan backwards.
Every question comes from the Official Driver’s Handbook, published by Ontario’s Ministry of Transportation. It is the only source you truly need.
For the full breakdown of the format, see what the G1 test covers and what score you need to pass.
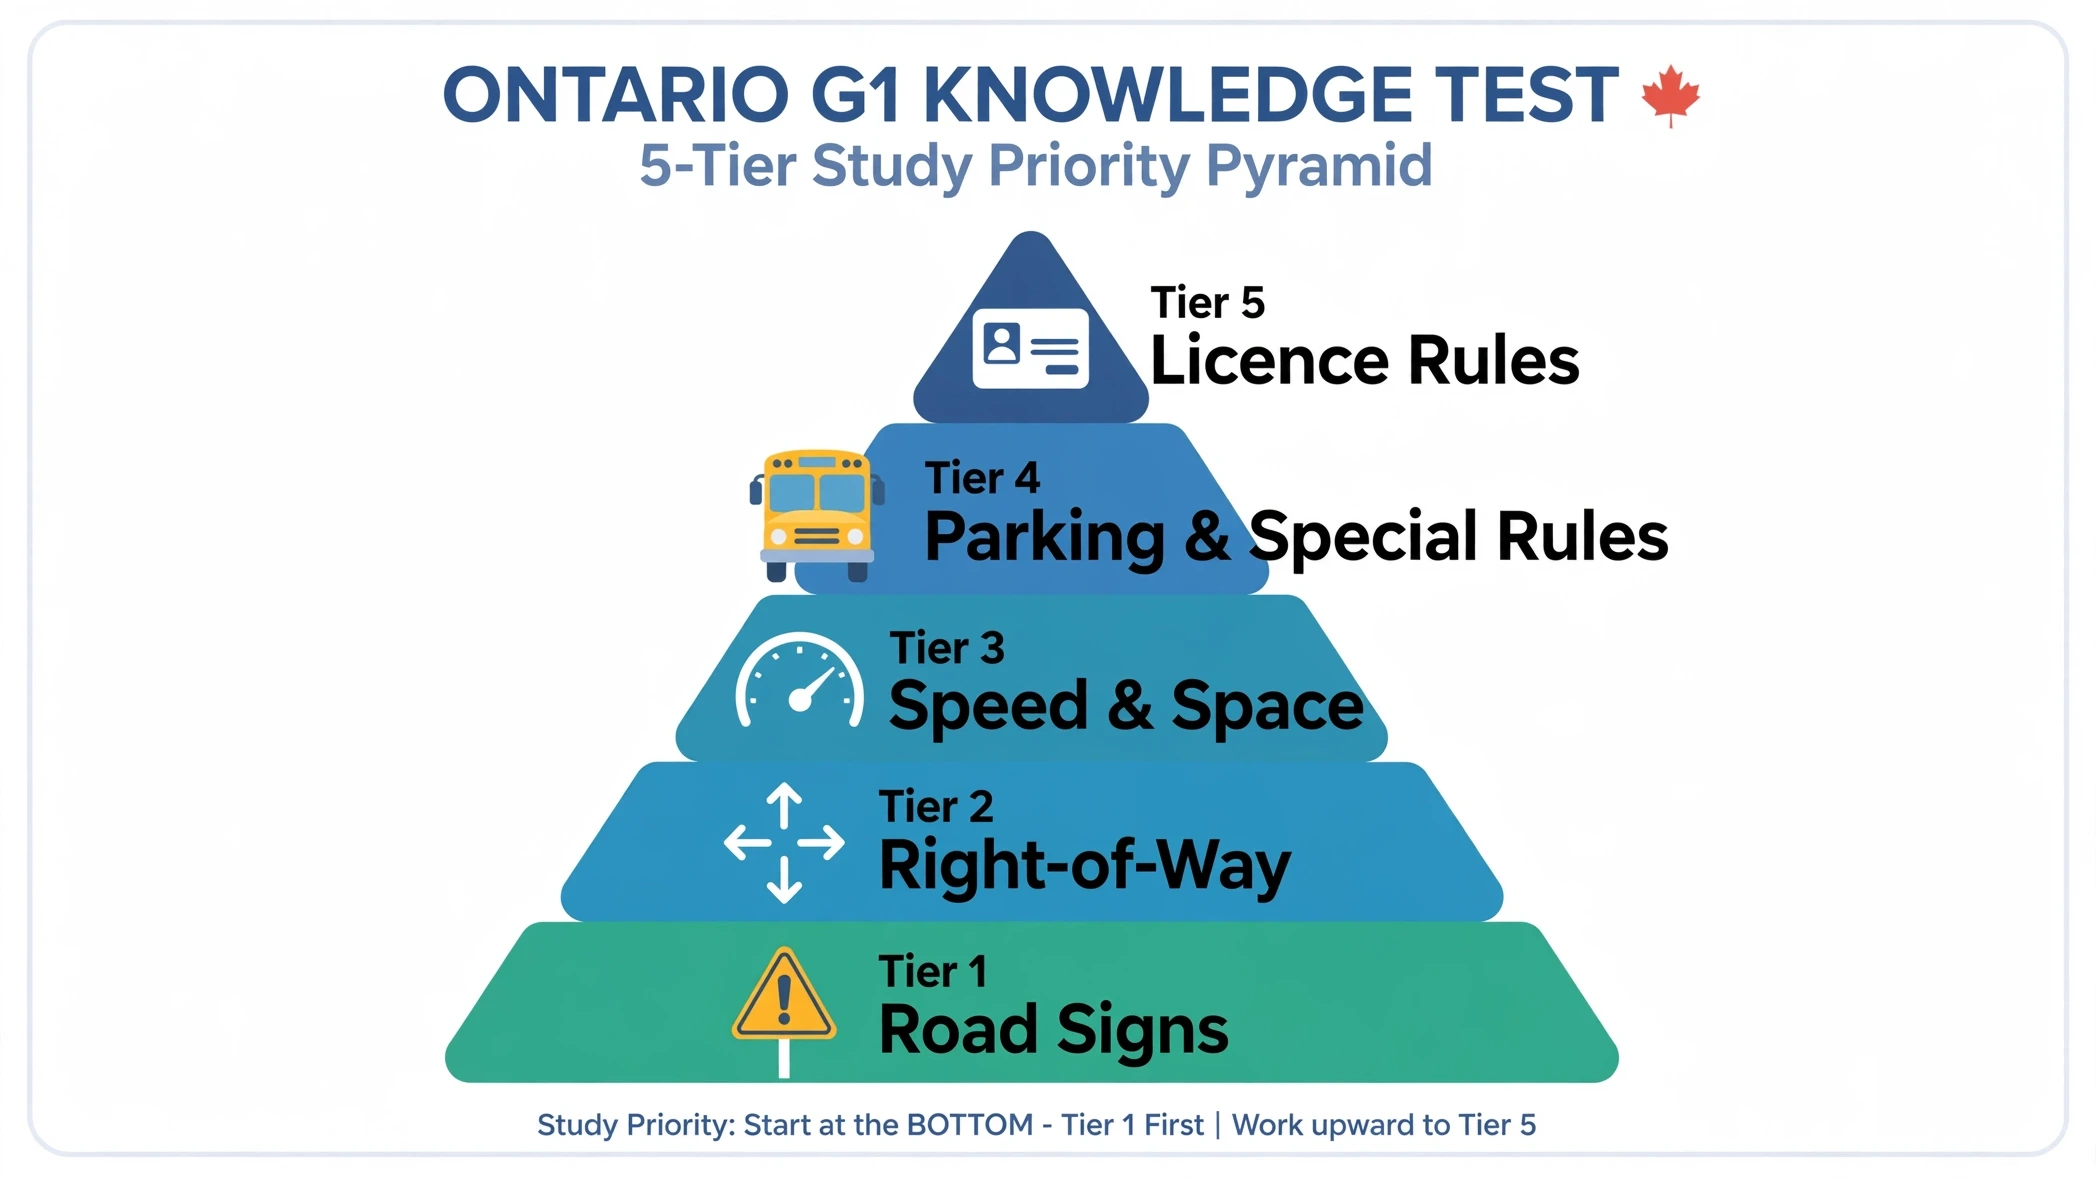
Tier 1 — Road Signs: Half Your Test
Road signs are the highest-value topic on the entire test. Twenty of your forty questions are signs, and recognition is the fastest skill a learner can build.
Study signs by family, not one by one. Signs that look alike mean alike things, and the test loves asking you to tell close cousins apart.
- Regulatory signs (red, white, and black): what you must or must not do — stop, yield, speed limits, no turns, no parking.
- Warning signs (yellow diamonds): what is coming — curves, intersections ahead, school zones, railway crossings.
- Information and direction signs (green and blue): where things are — routes, distances, hospitals, fuel.
- Temporary and construction signs (orange): work zones, detours, and lane closures.
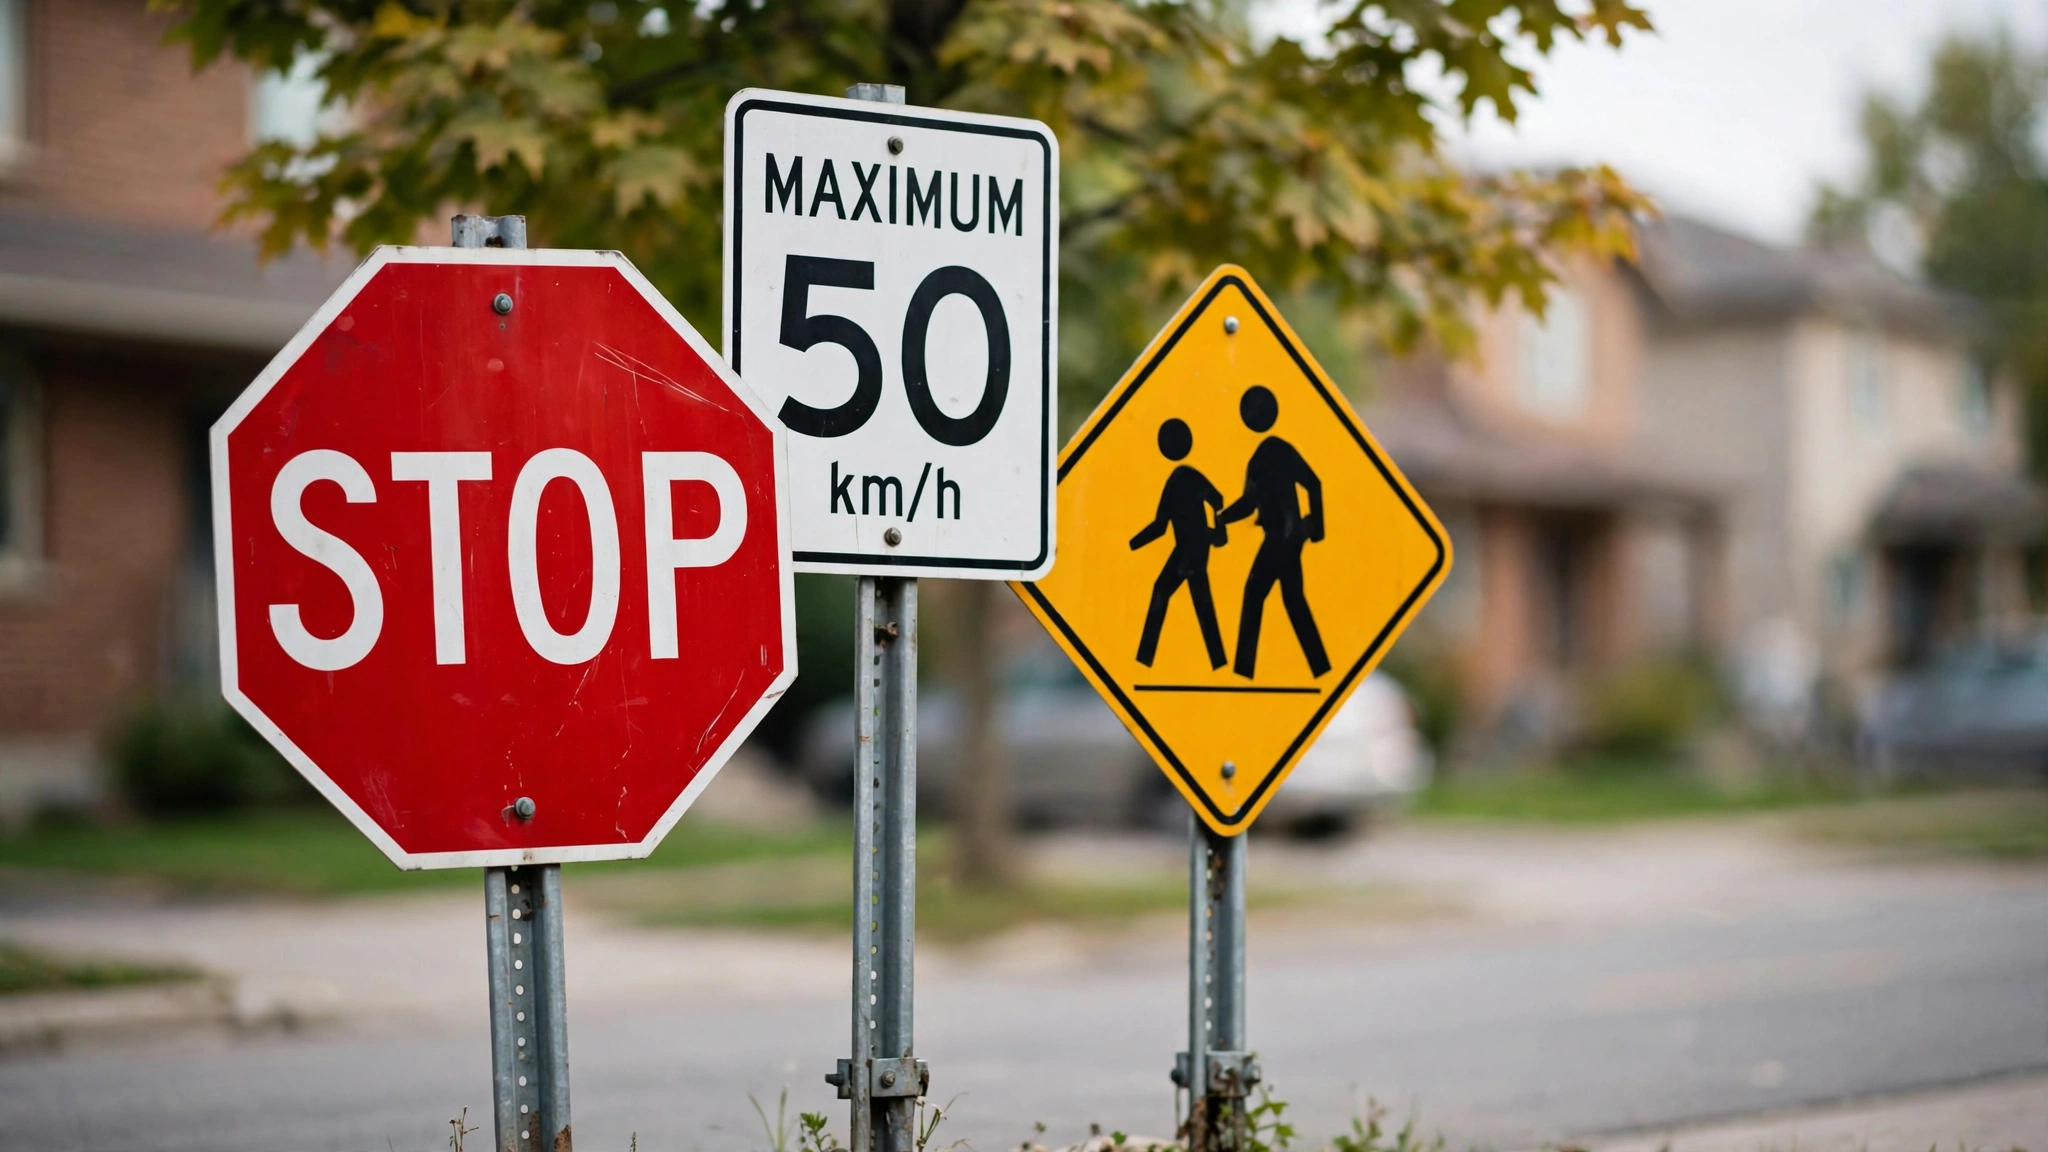
Shape is a shortcut the handbook hands you for free. Octagons always mean stop. Inverted triangles always mean yield. Diamonds warn. Learn the shapes and you can guess the category of a sign you have never seen.
Colour works the same way. Red means stop or prohibition. Yellow means caution. Green points the way. Orange means a work zone. Fluorescent yellow-green marks school and pedestrian crossings.
Drill signs with flashcards or practice questions, never by re-reading pages.
Recognition only sticks when you force your brain to retrieve the answer. Reading the same page twice feels productive but builds almost nothing.
Watch for the classic confusions. “No stopping” and “no parking” are different rules. A pedestrian crossover sign and a school crossing sign look similar but mean different things. The test targets exactly these mix-ups.
Tier 2 — Right-of-Way and Intersections
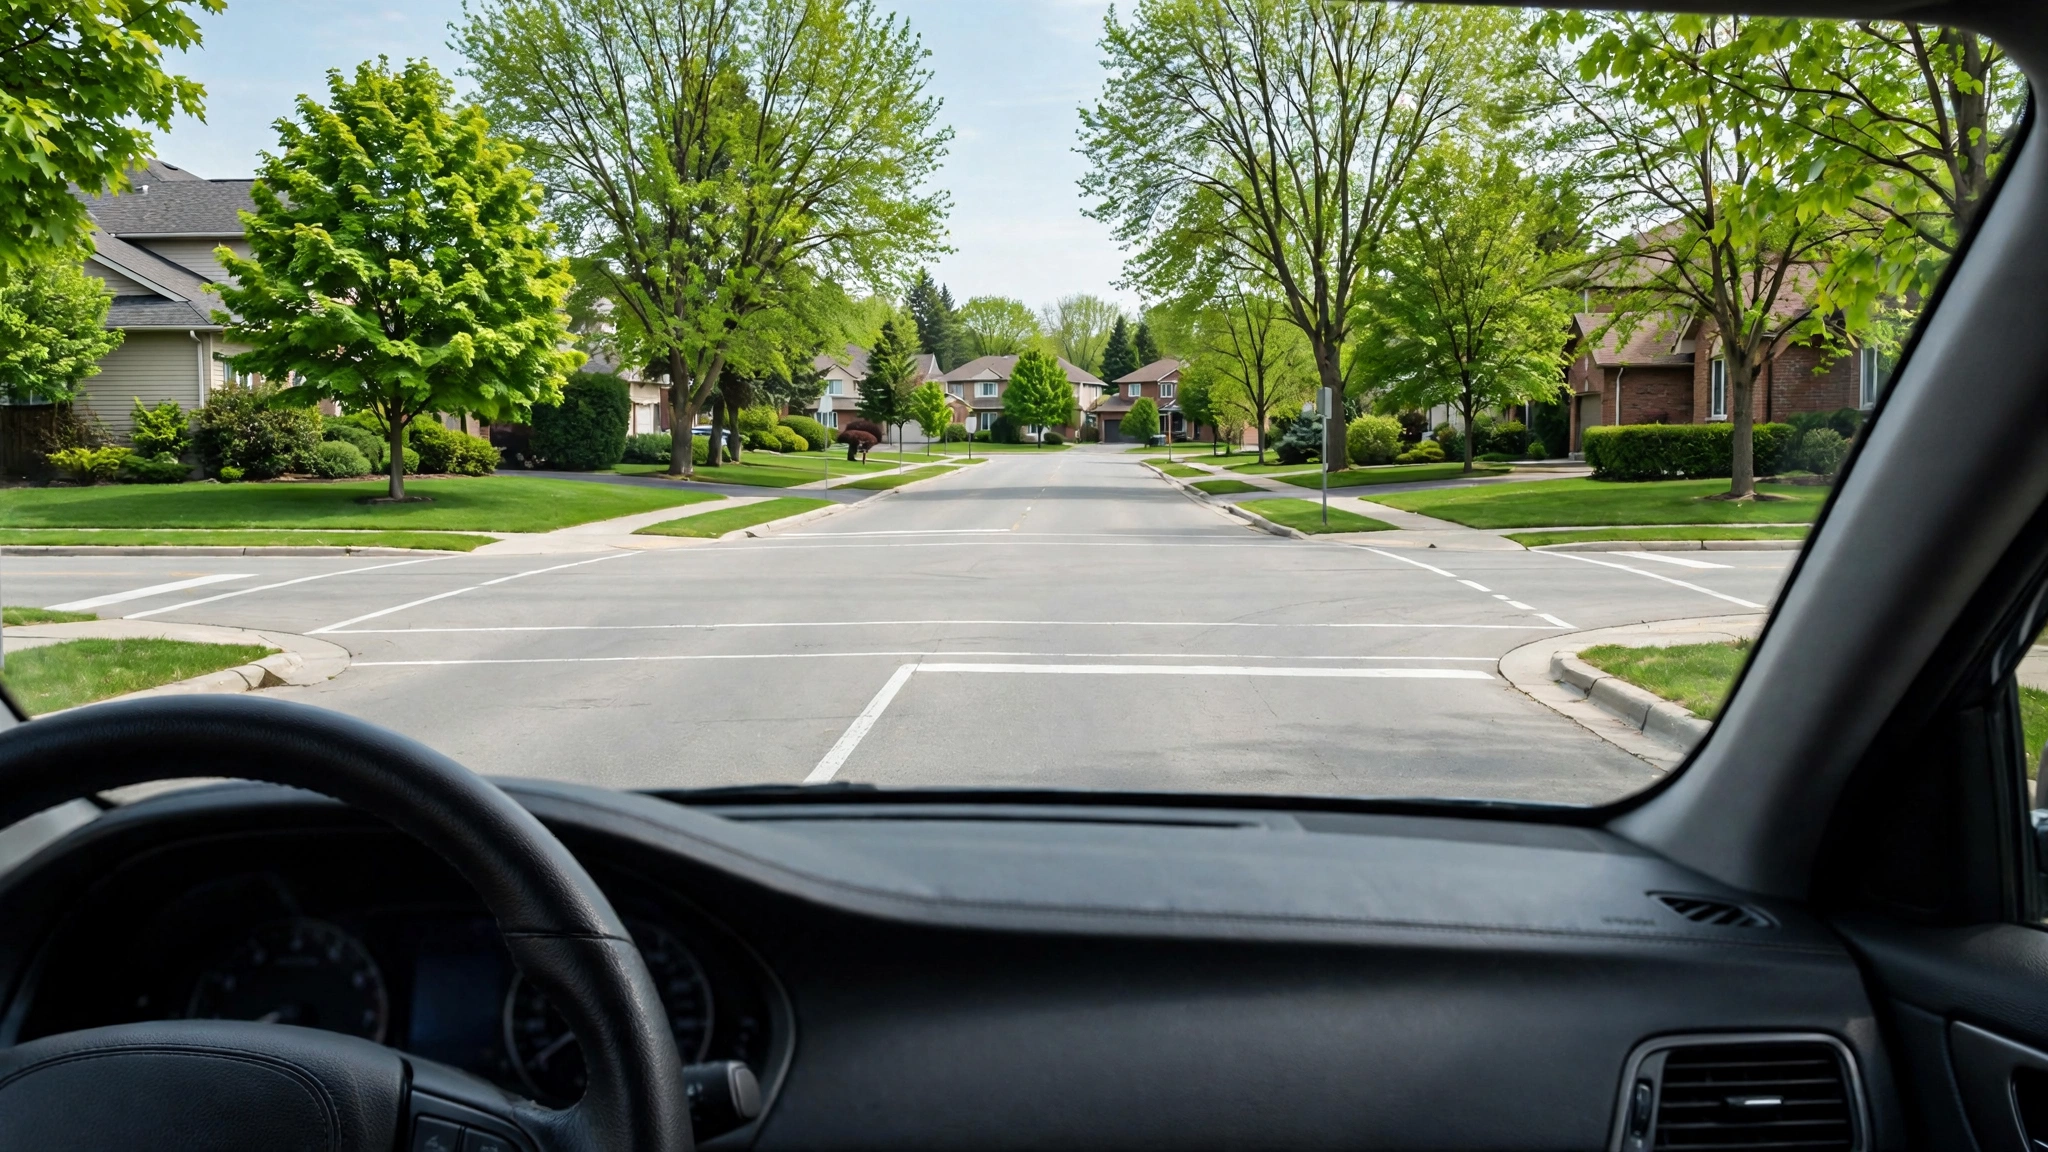
This is where the rules section gets decided. Right-of-way questions ask you to think through a situation, not just recall a fact, and they reward genuine understanding.
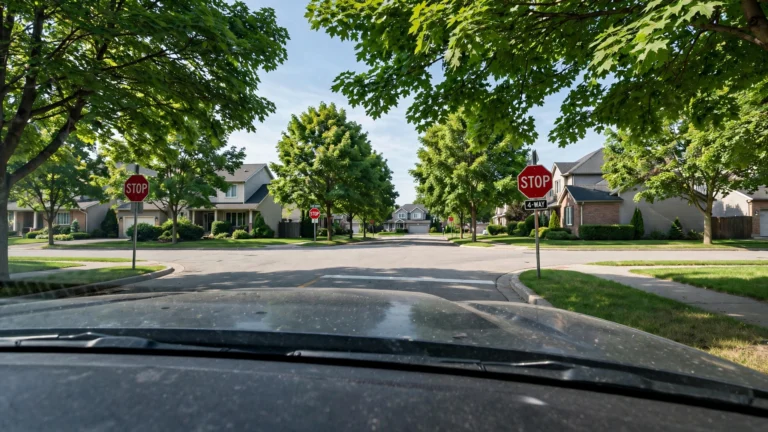
Master the all-way stop first. The first vehicle to stop goes first. If two arrive together, the vehicle on the right goes first. Simple, and it appears constantly.
Next, learn uncontrolled intersections, where no signs or lights decide for you. Slow down, look both ways, and yield to traffic already in the intersection.
Turning rules are test favourites. Right turns go into the right lane, left turns into the left lane. Pedestrians in or approaching the crosswalk have the right-of-way — always.
Traffic light sequences matter too. A steady amber means stop if you can do so safely. A flashing red is treated like a stop sign. A flashing amber means proceed with caution.
Roundabouts and yield signs belong in this tier as well. At a yield sign you slow, look, and give way — you only stop when traffic forces you to. In a roundabout, traffic inside the circle has the right-of-way.
Tier 3 — Speed, Space, and Sharing the Road
Speed limit questions are straightforward, and that makes them free points. Learn the defaults: 50 km/h in cities and towns, 80 km/h on rural roads, and 100 km/h on most highways — unless a posted sign says otherwise.
Following distance is the two-second rule. Pick a fixed object by the road, and make sure two full seconds pass between the car ahead passing it and you passing it. Double the gap in rain, snow, or fog.
Lane changes and passing get their own questions. The sequence never changes: signal, check mirrors, check the blind spot, then move. Every time, no shortcuts.
Pass only where it is legal and you have a clear view ahead. Never pass near a hill crest, a curve, an intersection, or a railway crossing — the test asks about every one of these.
Blind spots deserve extra attention. Your mirrors miss the space beside your rear fenders, and turning your head to check is a habit the test expects you to have.
Sharing the road means knowing the rules for cyclists and large trucks. Give cyclists a full metre of space when passing. Give trucks extra room to turn, and never cut in front of one and brake.
Tier 4 — Parking, School Buses, and Special Situations
Parking questions reward precision. Know which way to turn your wheels on a hill: toward the curb when facing downhill, away from the curb when facing uphill, and straight ahead on flat ground.
Parallel parking shows up too. Signal, line up beside the parked car, reverse in slowly, and straighten up. The test cares that you know the steps and the signalling, not that you are perfect at it yet.
School bus rules are strict for a reason. When a school bus stops with its red lights flashing and stop arm extended, you stop — from both directions — and wait until the lights stop flashing.
Emergency vehicles need a clear lane. When you hear a siren or see flashing lights behind you, signal, pull to the right, and stop until the vehicle passes.
Railway crossings combine signs and rules. Slow down, look both ways, and never stop on the tracks. Never shift gears while crossing, and never try to beat a train.
Tier 5 — Licence Rules and Safe-Driving Basics
The test includes questions about the licensing system itself. Study the G1 conditions: you must drive with an experienced licensed driver beside you, and the zero-alcohol rule applies to you.
Impaired driving questions go beyond alcohol. Cannabis and other drugs impair driving too, and the penalties are severe. If a substance affects your ability to drive, you do not drive.
Distracted driving is a favourite test topic. Handheld devices are off-limits while driving — no texting, no scrolling, no holding a phone to your ear.
Seatbelts are non-negotiable. Every person in the vehicle must be buckled, and children need the right car seat for their age and size.
The demerit point system appears as well. Know the idea behind it: traffic convictions add points to your record, and collecting too many can suspend your licence.
What Not to Waste Time On
Do not memorize every fine amount in the handbook. The test measures safe-driving judgment, not your memory for dollar figures.
Do not drill ultra-rare signs for hours. If a sign is genuinely obscure, it is unlikely to carry a question. Master the common families first, then circle back if time allows.
Do not study by reading alone. Re-reading feels productive, but testing yourself with practice questions builds the recall the test actually measures.
Do not skip the topics you find boring. The test does not care what you find boring — every section needs its 16 correct answers, and your weakest topic costs you the most.
A Study Order That Actually Works
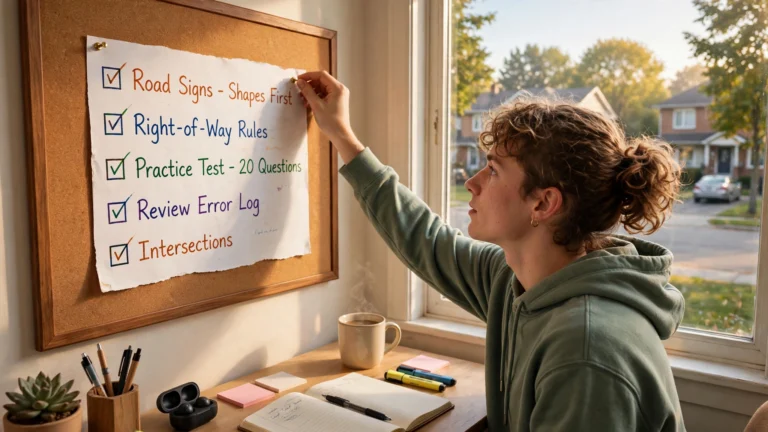
Here is the sequence that turns the tiers above into a plan. Follow it in order — each phase feeds the next.
- Learn the signs by family. Read the handbook’s sign section once, grouping signs by shape and colour. Then drill with flashcards until recognition feels instant.
- Test yourself on signs. Take a signs-only practice round. Write down every miss and re-drill just those until they stick.
- Read the rules chapters. Work through right-of-way, speed and space, parking, and special situations. Take notes in your own words — rewriting forces understanding.
- Take full practice tests. Sit 40-question tests under test-like conditions and review every wrong answer in the handbook. This is where the real learning happens — our comparison of free G1 practice tests shows where to find good ones.
- Close the gaps. Re-drill your weakest topics until they stop being weak. Your last study sessions should feel like review, not discovery.
How to Know You Have Studied Enough
One good score proves nothing — luck exists. Three strong scores in a row prove something: consistency.
Aim to score comfortably above the passing line on full practice tests, repeatedly. If 16 is the line, you want to live at 18 or 19 before you book.
Watch your section scores, not just the total. If signs are strong and rules are shaky, your study is not done — the sections are graded separately, and the test will find your weak half.
Track your mistakes in a notebook or a notes app. When the same topic stops appearing in your miss list, that topic is learned. When no topic appears twice, you are ready.
The night before, stop drilling new material. Review your mistake list once, sleep well, and trust the work you put in. Cramming at midnight has never saved anyone.

Frequently Asked Questions
Should I Study Road Signs or Rules First?
Signs first. They are half the test and the fastest points to earn. Recognition builds quickly, which gives you momentum for the harder rules work.
Is the Official Driver’s Handbook Enough on Its Own?
It covers everything the test can ask. Practice questions add no new facts — they train you to recall the handbook’s facts under pressure.
How Long Does It Take to Study for the G1 Test?
Most learners need about one to two weeks of steady daily study. What matters is not the calendar — it is consistent practice-test scores well above the passing line.
Can I Pass by Studying Only Practice Tests?
Practice tests are excellent drills, but they work best after you have learned the material. Use them to find gaps, then close those gaps in the handbook.
Are Practice Test Questions the Same as the Real Test?
No. Practice questions are written to match the style and topics of the real test. Study the concepts behind each question, never the question itself.
This guide is unofficial practice material for the Ontario G1 knowledge test. It has no affiliation with DriveTest or the Government of Ontario.
It does not reproduce real test questions. For the authoritative rules, always check the Official Driver’s Handbook.
Want 300 More Practice Questions?
The Premium Question Bank gives you 6 full mock exams with a plain-language explanation for every answer. Instant PDF download, yours to keep.
Get the Question Bank – $9.99Original handbook-mapped questions. Not real DriveTest questions. No pass promises – just serious practice.


One Comment