
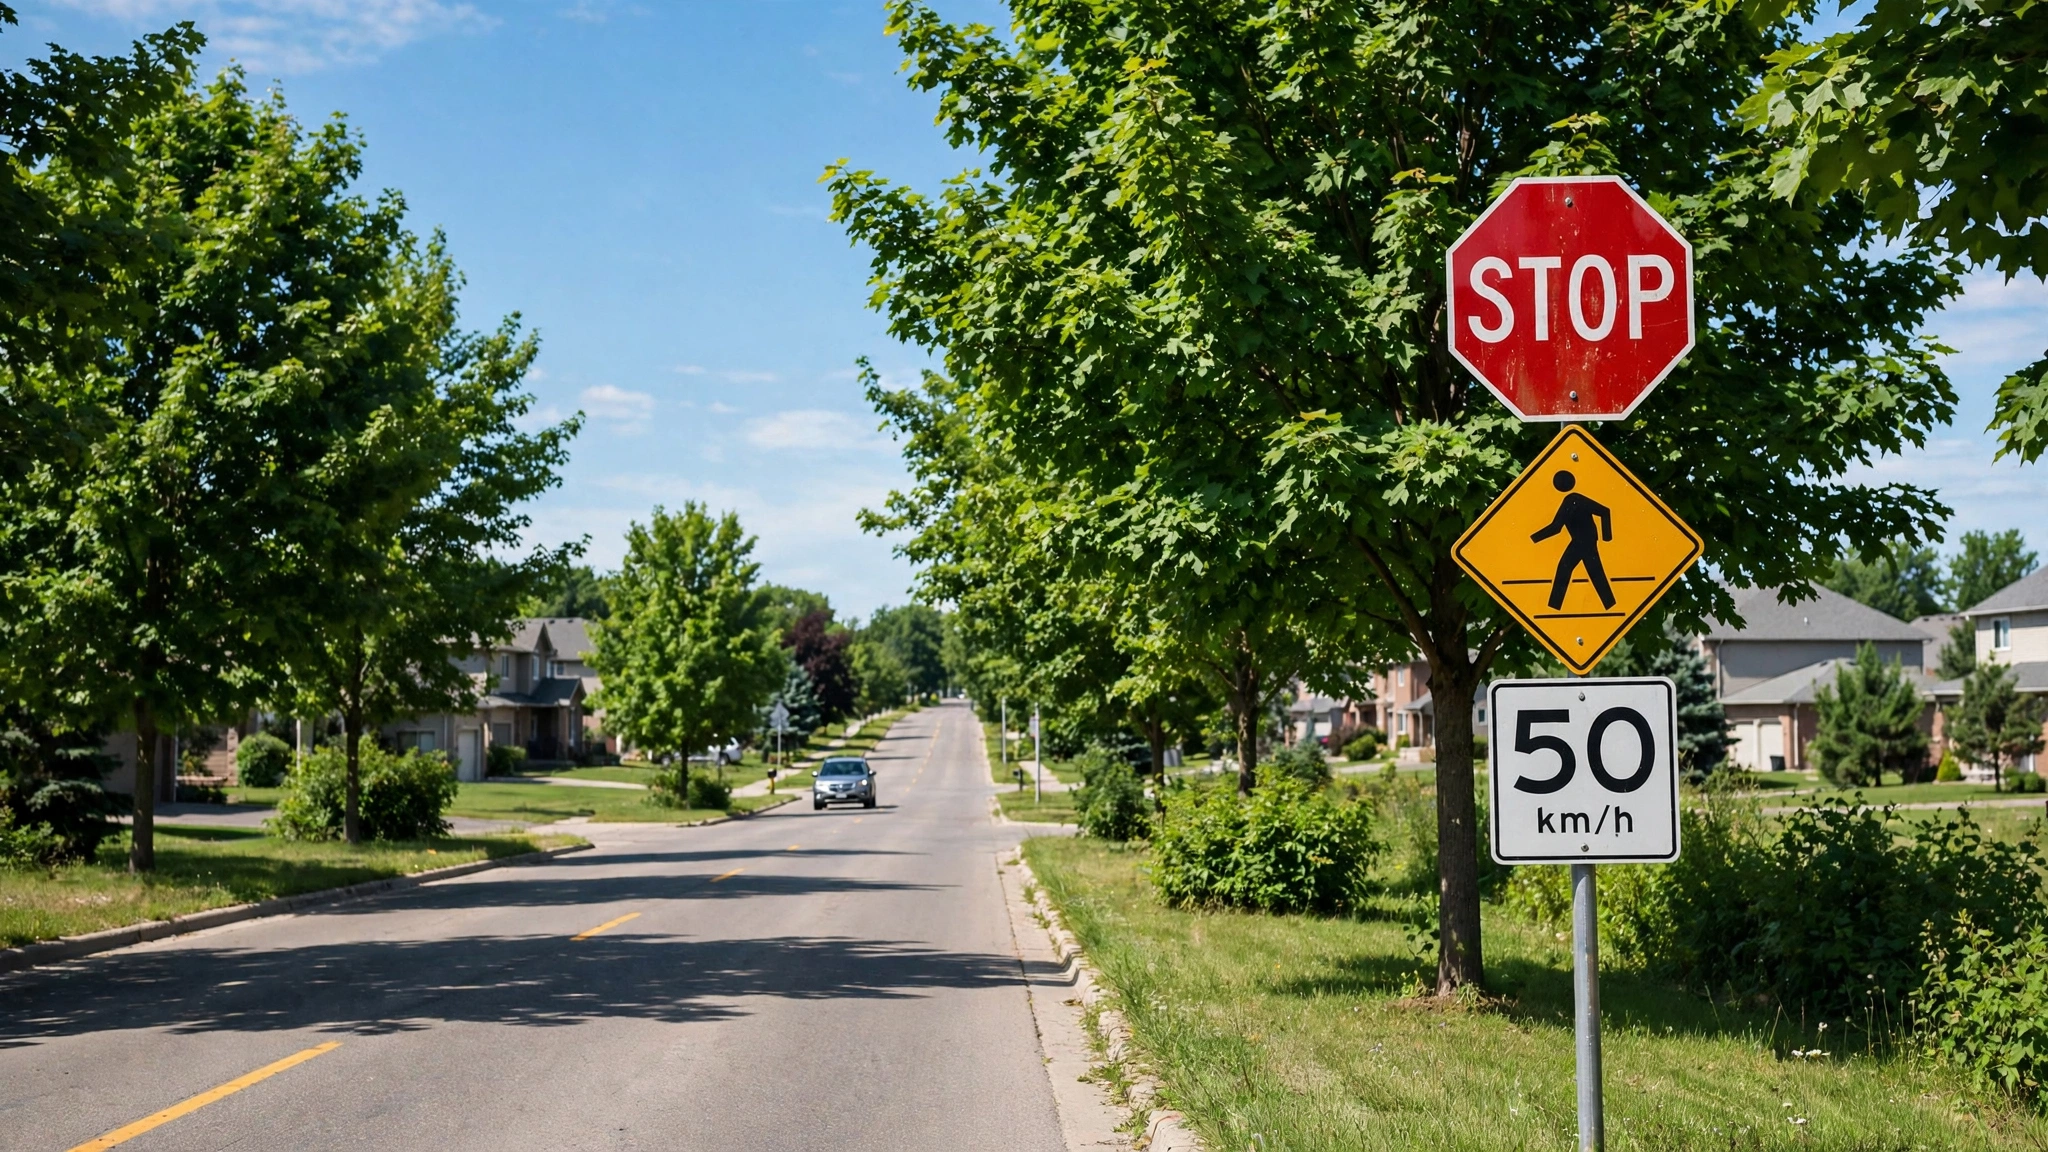
How to Memorize Ontario Road Signs for the G1 Test
Most learners walk into the G1 test worried about the rules of the road, then lose marks on the road sign section instead. The signs feel endless — more than a hundred of them in the handbook — and many look alike at a glance. A yellow diamond here, a white rectangle there, and suddenly two answers both seem right.
Here is the good news: you do not need a photographic memory to learn Ontario road signs. You need a system. Shapes and colours carry most of the meaning before you ever read a symbol, and a handful of memory techniques can lock the tricky ones in place within a couple of weeks.
Start With Shapes, Not Individual Signs
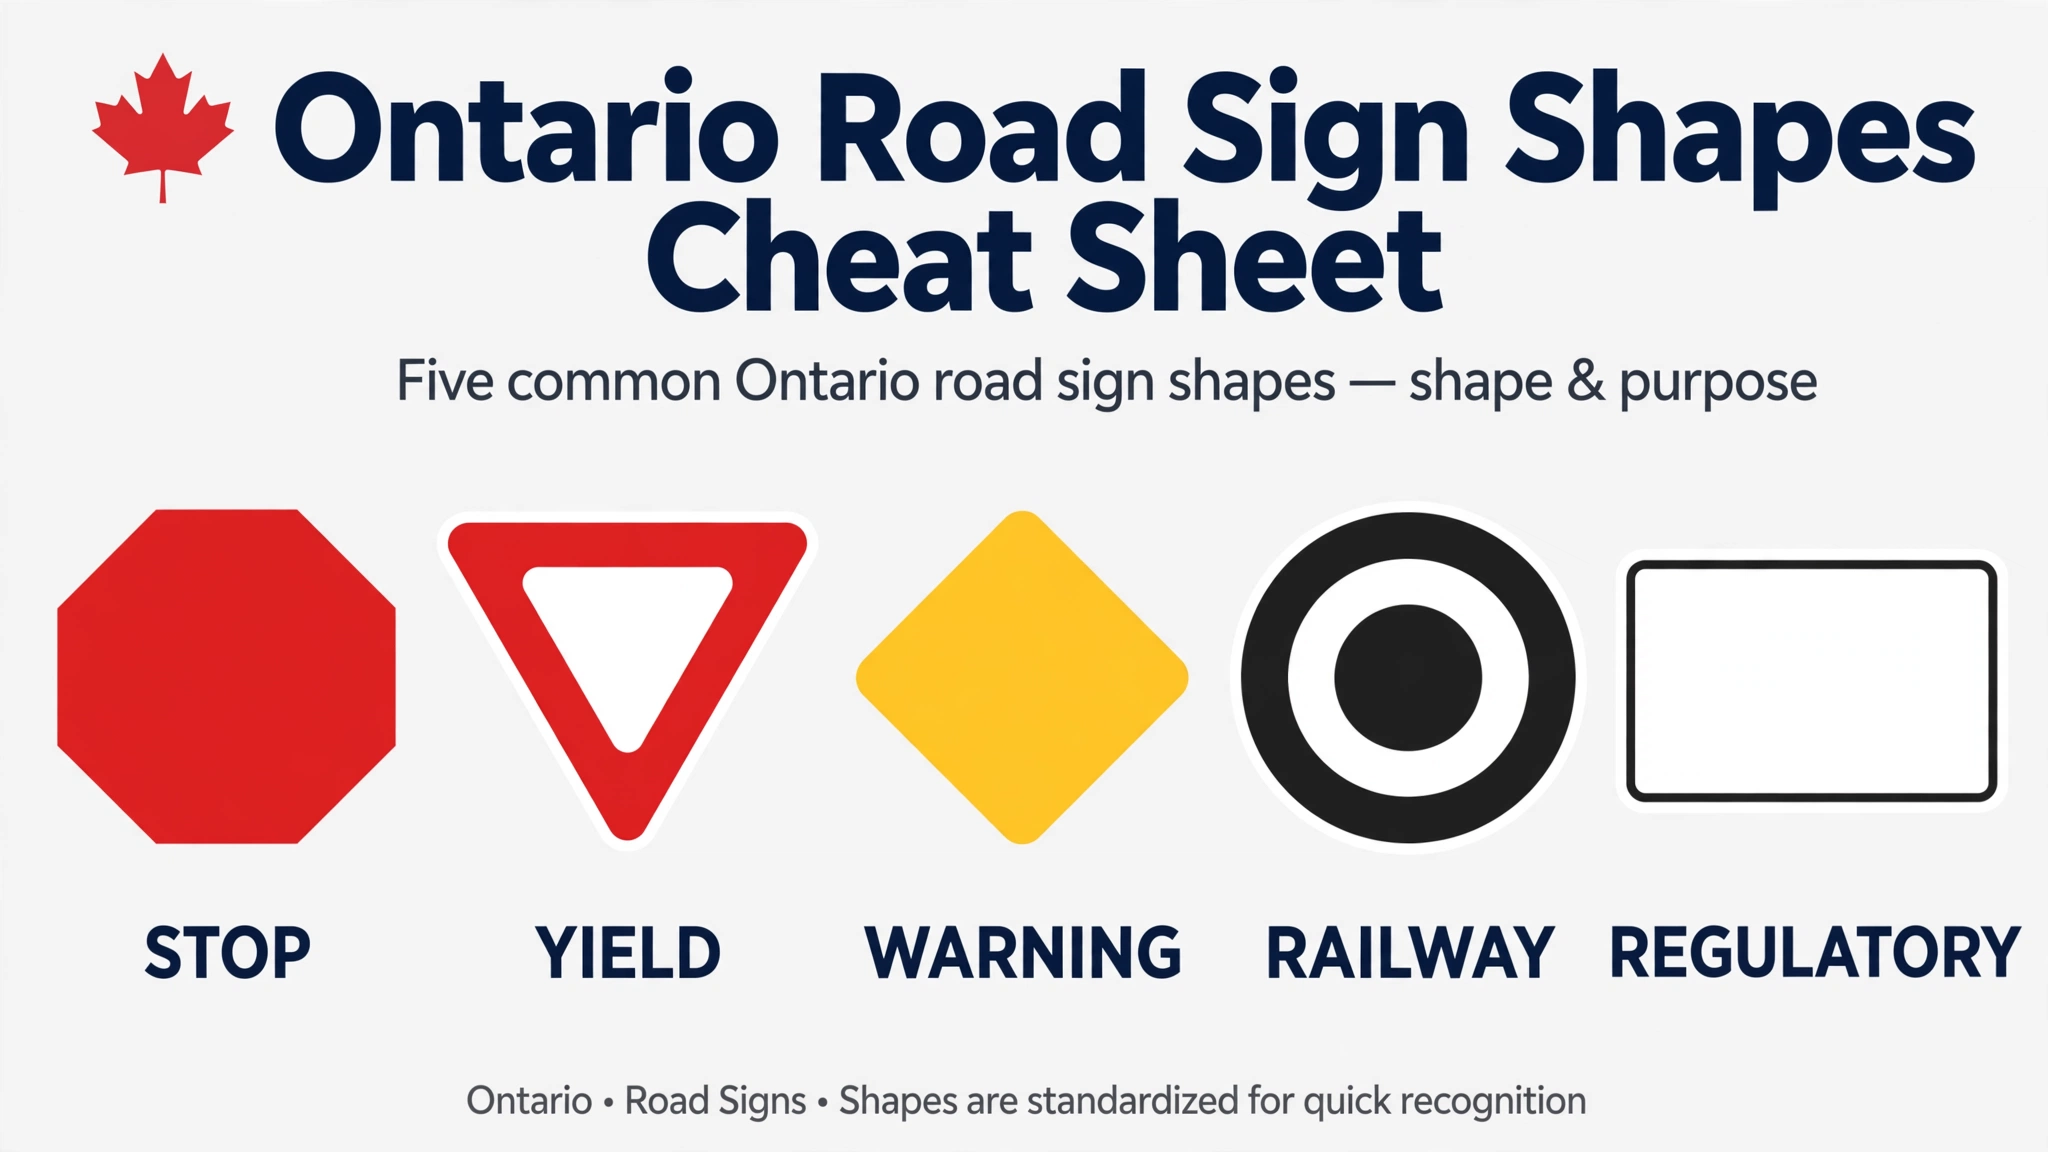
Ontario designs its signs so the shape tells you the job. Learn six shapes and you have already decoded half of every sign you will meet. The test often shows a sign you have never seen, and the shape alone can point you to the right answer.
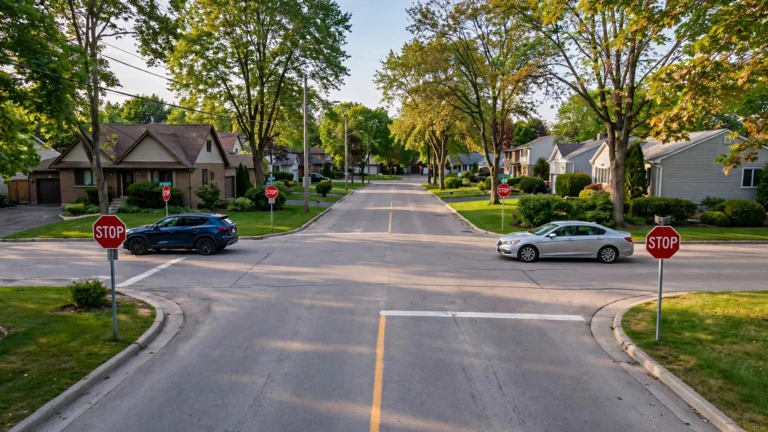
- Octagon — stop. Only one sign uses this shape, and it always means a full stop.
- Inverted triangle — yield. Give way to traffic that has the right of way.
- Diamond — warning. Something ahead needs your attention, like a curve or a merge.
- Circle — railway crossing ahead. Slow down and be ready to stop.
- Rectangle (usually white or green) — regulation or guidance. It tells you a law or points the way.
- Pentagon — school zone. Watch for children and lower your speed.
Practice by covering the symbols in the handbook and naming the family from the shape alone. When you can do that quickly, you have built the fastest recall shortcut the test rewards.
Colours Are a Second Code
Once the shape narrows it down, the colour finishes the job. Ontario follows a consistent colour language across all its signs, and the G1 test assumes you know it.
- Red — stop or prohibition. Stop signs, do-not-enter signs, and wrong-way signs.
- Yellow — general warning. Curves, intersections, and hazards ahead.
- Orange — construction and temporary conditions. Slow down and expect changes.
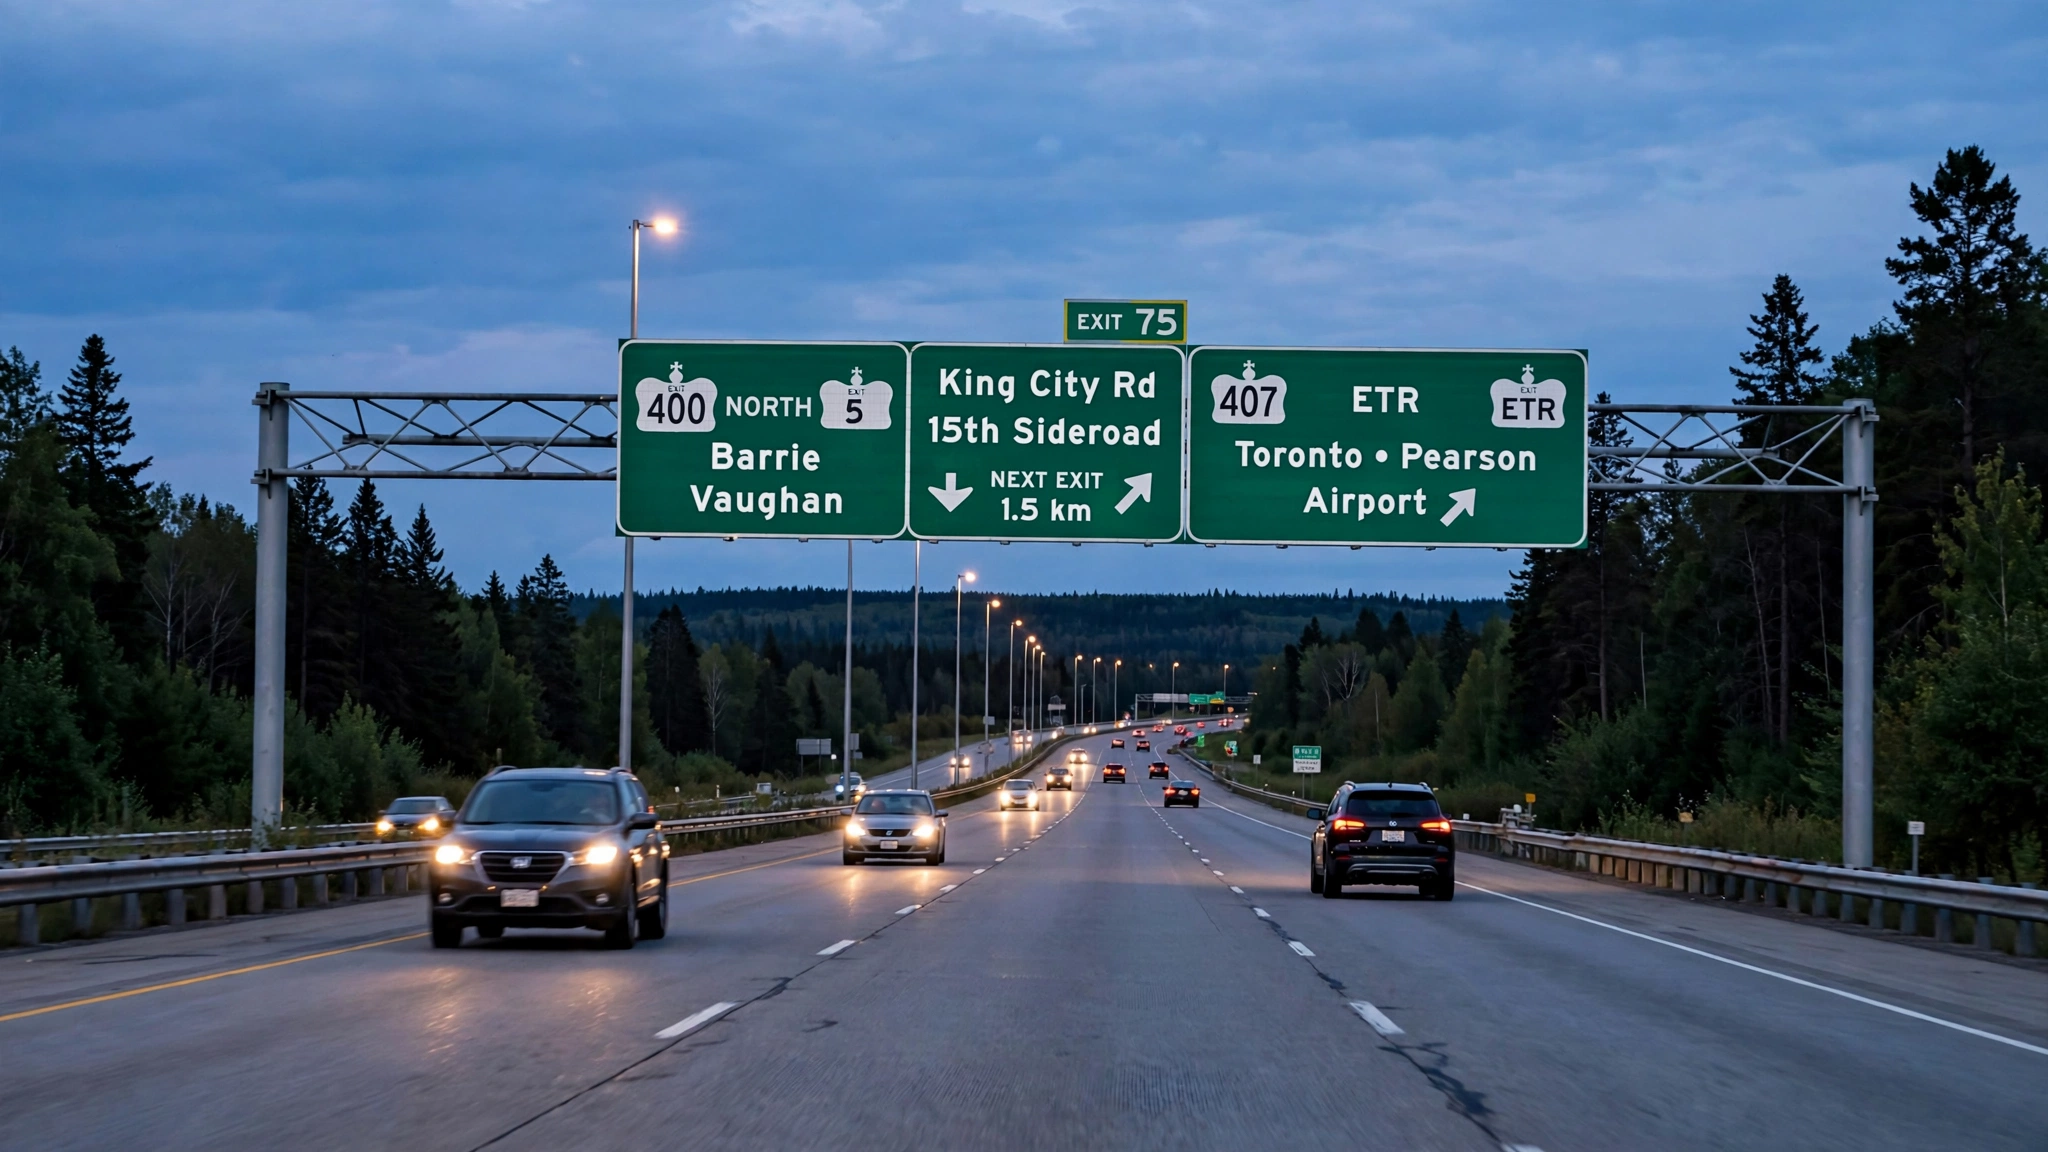
- Green — guide and direction. Distances, exits, and route markers.
- Blue — services. Gas, food, hospitals, and rest areas.
- White with black text — regulatory. Speed limits and lane rules you must obey.
A quick drill: flip through handbook pages and call out only the colour meaning. Red means law. Yellow means caution. Green means guidance. Saying it out loud wires the association faster than silent reading.
Group Signs Into Five Families
Studying signs alphabetically is slow because your brain stores them as strangers. Studying them in families works because each group shares a shape, a colour, and a personality. Give every family a one-line memory anchor.
- The stop-and-yield family: octagon and inverted triangle. Anchor: “Red means halt — full stop or rolling yield.”
- The warning family: yellow diamonds. Anchor: “Yellow diamonds gossip about the road ahead.”
- The regulatory family: white rectangles and red prohibitions. Anchor: “White rectangles are the law, written down.”
- The guide family: green direction signs. Anchor: “Green guides you somewhere — follow it like a friend giving directions.”
- The temporary family: orange construction signs. Anchor: “Orange means the road is under construction and the rules just changed.”
Learn one family per study session instead of mixing them. Your brain builds a tidy shelf for each group, and recall on test day becomes a matter of walking to the right shelf.
Four Memory Techniques That Work on Signs
Re-reading the handbook feels productive, but it is one of the weakest ways to remember anything. These four techniques force your brain to retrieve, connect, and use each sign — which is exactly what memory needs.
Tell a One-Sentence Story
Link the sign’s symbol to a tiny story. A winding-road warning sign becomes “the road does the snake dance.” A deer-crossing sign becomes “Bambi might jump out after this bend.” Silly stories stick because your brain remembers odd, vivid images far better than plain facts.
The Teach-Back Test
After learning five signs, explain each one aloud as if teaching a friend who has never driven. Say what the sign looks like, what it means, and what a driver should do. If you stumble, that sign needs another round — you have just found your weak spot without a single practice question.
Pair the Lookalikes
Always study confusing pairs together, never apart. No parking beside no stopping. Do not enter beside wrong way. Merge beside lane ends. Comparing them side by side forces your brain to record the difference, which is precisely what the test questions probe.
Space Your Reviews
Review new signs after one day, then after three days, then after a week. Each gap makes recall slightly harder, and that effort is what cements the memory. Fifteen focused minutes a day beats a single three-hour cram session every time.

The Lookalike Signs Worth Extra Drills
A handful of sign pairs cause most of the wrong answers on the sign section. They share colours, shapes, or symbols, and the test loves placing them side by side. Drill these pairs deliberately until the difference is automatic.
- No parking vs. no stopping: both are red-circle prohibitions, but no stopping is stricter — not even a momentary stop is allowed.
- Do not enter vs. wrong way: both are red and white, but do not enter marks the entrance while wrong way faces drivers already going the wrong direction.
- Merge vs. lane ends: both involve lanes joining, but merge means traffic blends while lane ends means your lane disappears.
- Railway crossbuck vs. railway advance sign: the crossbuck (X) marks the crossing itself; the yellow circle warns it is coming up.
- School zone vs. school crossing: the pentagon marks the zone with its lower speed limit; the crossing sign marks where children cross.
Turn Everyday Drives Into Free Study Time
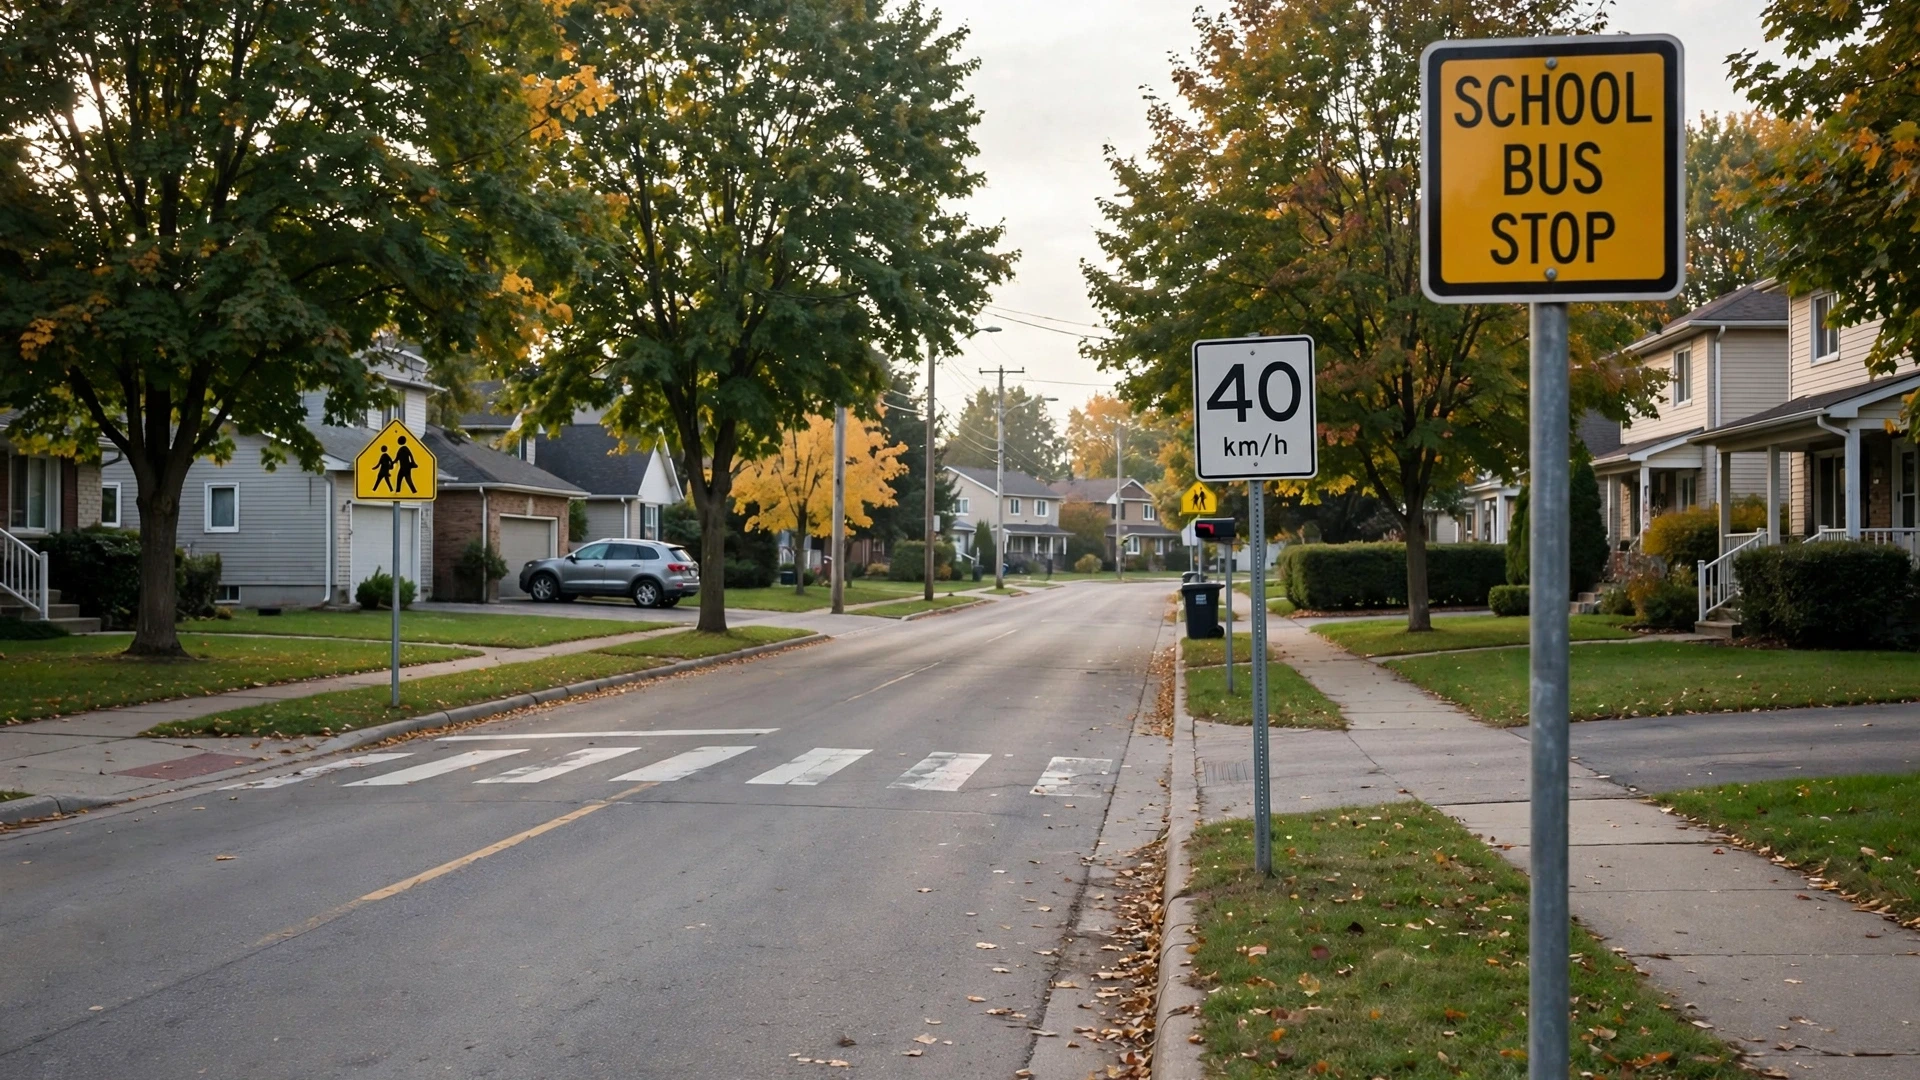
You do not need to sit at a desk to study signs. Every trip as a passenger is a free practice session, and real signs in real places stick better than handbook pictures.
- Call them out: name every sign you pass and say what action it requires. “Yield — slow down and give way.”
- Predict before you read: spot the shape and colour first, guess the meaning, then check the symbol.
- Narrate like an instructor: explain to the driver what each sign means and what they should do about it.
- Photograph the tricky ones: snap confusing signs you see and add them to your missed-signs list.
Ten minutes of this on a regular errand run teaches more than thirty minutes of staring at a page. Your brain links the sign to a real place, and real places are unforgettable.
A Simple Two-Week Sign Plan
You do not need months. Two focused weeks, following this order, take most learners from zero to confident on the sign section.
- Days 1–2: Learn the six shapes and six colours cold. Quiz until shape-plus-colour recall is instant.
- Days 3–6: Study one sign family per day. End each day with a teach-back of that family.
- Days 7–9: Drill the lookalike pairs side by side. Write one-sentence stories for the ones you keep missing.
- Days 10–12: Take timed sign quizzes and keep the missed-signs list. Review only the list each evening.
- Days 13–14: Do full mixed quizzes under test conditions. Call out real signs on every drive or walk.
For a broader look at how the sign section fits the whole exam, see how many questions are on the G1 test and what the G1 test covers in Ontario. The sign half is 20 questions, and you need 16 of them right — the plan above is built for exactly that target.
How to Read a Sign Question on Test Day
Even well-prepared learners lose marks by rushing the question itself. Slow down and read every sign question the same way.
- Read the shape and colour first. Name the family before looking at the choices.
- Cover the answers and decide. Commit to a meaning before the options can sway you.
- Eliminate by family. Cross out any choice that belongs to a different sign family.
- Check for the lookalike trap. If two answers seem close, re-read the exact sign wording — that is where the difference hides.
If a sign truly stumps you, mark it mentally and move on. One uncertain question is never worth the panic that ruins the next five. Many learners find that practicing with free online G1 tests trains exactly this calm, step-by-step reading habit.
Sign Memory Questions, Answered
How many road signs do I actually need to know?
The handbook shows well over a hundred, but the shape-and-colour system means you are really learning about a dozen patterns plus the common exceptions. Focus on the families first and the rare signs last.
Should I memorize signs from the handbook or from practice questions?
Both, in that order. The Ontario Driver’s Handbook teaches the full system; practice questions then test whether you can apply it under pressure. Handbook first, quizzes second.
What is the fastest way to learn the confusing pairs?
Study each pair side by side and write down the single difference in your own words. “No stopping is stricter than no parking” beats re-reading both definitions five times.
Do the signs on the test look exactly like the handbook?
They follow the same standard designs, so a sign learned from the handbook will be recognizable on the test. That is also why the shape-and-colour method works — the standards do not change.
How do I know my sign knowledge is test-ready?
When you can name the meaning and required action for twenty random signs in a row without hesitation, including the lookalike pairs, you are ready. Hesitation is the signal to drill more, not to book the test.
Disclaimer: This article is unofficial study material for the Ontario G1 knowledge test. It is not affiliated with, endorsed by, or connected to DriveTest, the Ministry of Transportation, or the Government of Ontario. Road rules and test formats can change — always confirm current requirements through official sources.
Want 300 More Practice Questions?
The Premium Question Bank gives you 6 full mock exams with a plain-language explanation for every answer. Instant PDF download, yours to keep.
Get the Question Bank – $9.99Original handbook-mapped questions. Not real DriveTest questions. No pass promises – just serious practice.





4 Comments